Summer DIY Lip Balm
a.k.a. Butterfly Kisses Lip Balm

You will have “soft as butterfly” lips with this homemade Summer DIY Lip Balm recipe. I’ve been making my own lip balm for years using a basic recipe, but because of the hot days in the summer months, it would liquify too easily. This is my summer formula that I have created to hold up better in the heat, versus my winter recipe that is mainly coconut oil based (which has a lower temperature melting point.)
It’s made with natural ingredients such as cocoa butter, shea butter, coconut oil, beeswax, vitamin E and sweet almond oil. In a matter of minutes, you can easily create your own lip balm that is very nourishing. I use it every day, especially when I go to bed and I never have dry lips, just soft and kissable! Makes approximately 5 ounces.
Let’s begin!
Ingredients:

2 tbsp cocoa butter
2 tbsp beeswax pellets
3 tbsp coconut oil
1 tbsp shea butter
1 tbsp sweet almond oil (carrier oil)
3 drops vitamin E oil
small lip balm containers or tubes (I used 0.5oz round containers and also 3/16oz tubes.)
Optional: 8-10 drops essential or flavor oil for a hint of scent/flavor. Visit Nature’s Flavors for a wide variety of natural and organic essential oils.

Instructions:
For an easy cleanup, lay down a sheet of waxed paper first, then remove lids and place containers on paper.

Add everything except vitamin E (and if you are using a flavor/essential oil) to a small pot.
Heat on stovetop over medium heat, stirring often until everything is melted and transparent.

Remove from heat and add Vitamin E oil and essential/flavor oil (if using) and stir well.

While mixture is hot and transparent, transfer into a pour spout measuring cup (or something comparable) and carefully fill containers to the top.
Let cool completely before adding the lid on (or moisture will get trapped inside and create water droplets pooling on top which would compromise the shelf life.)

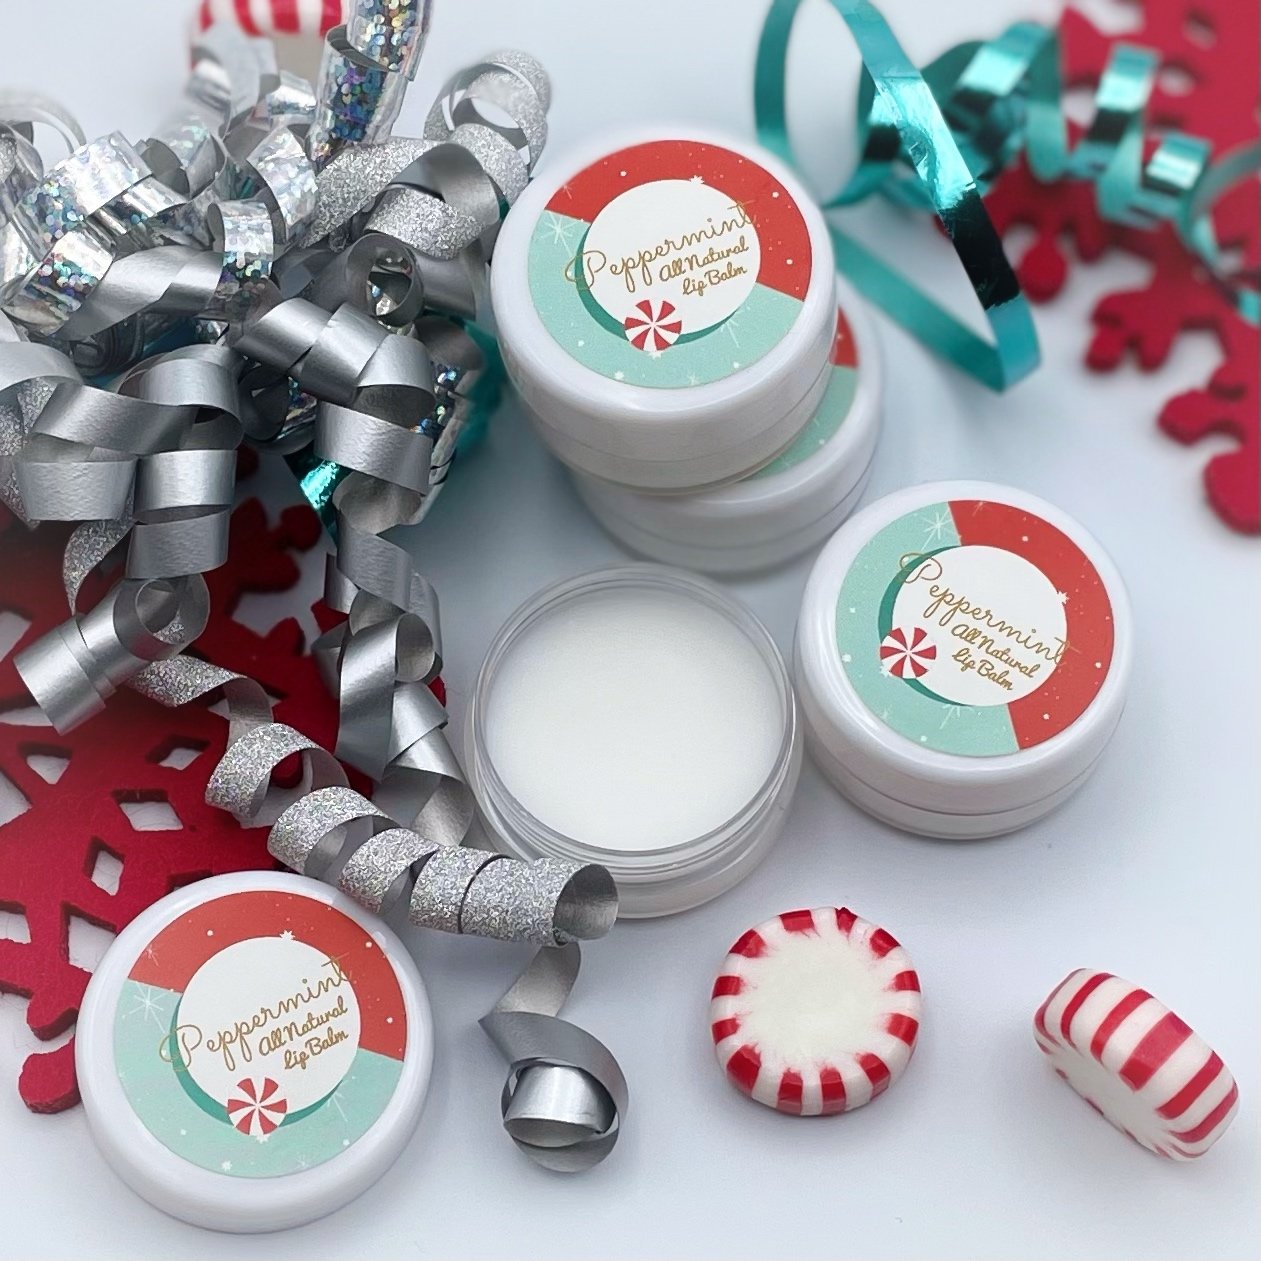
If giving as gifts, add a label to lid so recipients will know what ingredients were used. (Note: labels shown in photo are for a different formula, so I am using this just for an example.)

What is the shelf life of my 100 percent oil-based lip balm?
If kept in a cool, dark storage place this lip balm should last up to one year. Usually, I go through this stuff pretty quick and I’m making it at LEAST 2-3 three times a year and also giving as gifts (I get a lot of requests for my lip balms!)
Adding the vitamin E oil also extends the shelf life as well as using fresh ingredients. It’s a good idea to put the shelf-life information and expiration date on a label (maybe on the bottom or side) if giving as gifts.

I can just imagine that this is the lip balm fairies would use also! 🧚♀️
Enjoy!
💜Julie
")
Summer DIY Lip Balm (a.k.a. butterfly kisses lipbalm)
Ingredients
Instructions
- For an easy cleanup, lay down a sheet of waxed paper first, then remove lids and place containers on paper.
- Add everything except vitamin E (and if you are using a flavor/essential oil) to a small pot. Heat on stovetop over medium heat, stirring often until everything is melted and transparent.
- Remove from heat and add Vitamin E oil and essential/flavor oil (if using) and stir well.
- While mixture is hot and transparent, transfer into a pour spout measuring cup (or something comparable) and carefully fill containers to the top.
- Let cool completely before adding the lid on (or moisture will get trapped inside and create water droplets pooling on top which would compromise the shelf life.)
- If giving as gifts, add an information label to lid so recipients will know what ingredients were used as well as the shelf life (see note below.)
Notes
What is the shelf life of my 100 percent oil-based lip balm? If kept in a cool, dark storage place this lip balm should last up to one year. Usually, I go through this stuff pretty quick and I’m making it at LEAST 2-3 three times a year and also giving as gifts (I get a lot of requests for my lip balms!)
Adding the vitamin E oil also extends the shelf life as well as using fresh ingredients. It’s a good idea to put the shelf-life information and expiration date on a label (maybe on the bottom or side) if giving as gifts.