DIY Whipped Body Butter
Discloser: This post may contain affiliate links

Learn how to easily make your own DIY Whipped Body Butter with my simple recipe. This whipped body butter is incredibly light, creamy and deeply moisturizes. What is Body Butter used for? Whipped body butter is ideal for extremely dry areas of your body such as elbows, knees, heels, feet and hand and knuckles. In the cold weather months, you can apply to most areas. Because this body butter contains cocoa and shea butters, it’s also great for helping to prevent stretch marks during pregnancy. It can also help with eczema, psoriasis, chapped skin, and sunburn, (but check with your doctor before using as a medical treatment.)
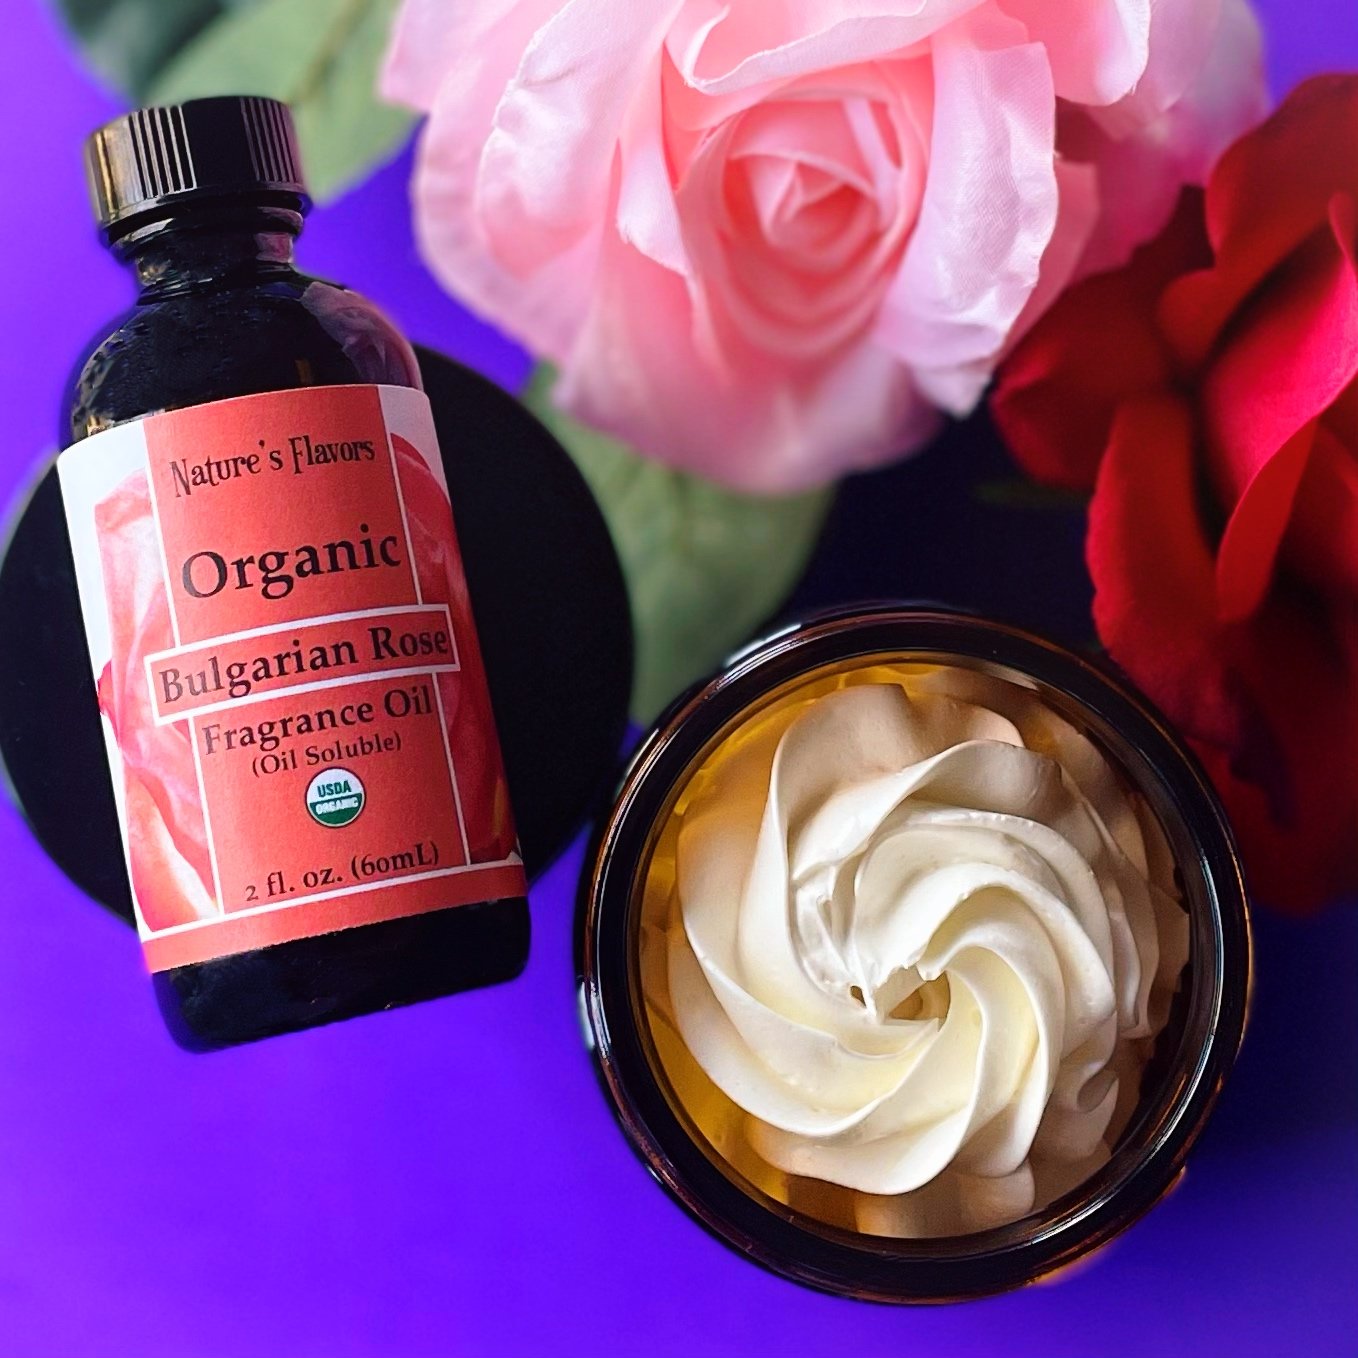
You can add a small amount of fragrance oil for a subtle, lovely scent. I used Nature’s Flavors Organic Bulgarian Rose Fragrance Oil for this batch, but they offer so many different scents from Caribbean Coconut and Creamy Vanilla to Lilac and Honeysuckle. This recipe makes approximately 16 ounces.
Check out Nature’s Flavors organic fragrance selection HERE.
Ingredients:

1/2 cup organic shea butter
1/3 cup organic coconut oil
1/4 cup organic cocoa butter (about 2oz)
1 tbsp natural sweet almond oil (carrier oil) with Vitamin E
15-20 drops (depending on how strong you want your scent) Nature’s Flavors Organic Fragrance Oil of choice (I used Bulgarian Rose)
Instructions:
How do you make homemade whipped body butter? Follow the simple instructions below:

To a double boiler, add shea butter, coconut oil and cocoa butter.
NOTE: I used a pot over another pot of with one inch of water.

Melt over medium heat, stirring constantly until translucent and fully melted.

Remove from heat and let sit and cool for 5 minutes, then transfer to mixing bowl and place in fridge.
Let cool in fridge for about one hour, or until starts to harden, but still a little soft.

Remove from fridge and use a hand-held mixer to whip and mix until light and fluffy, about 8 minutes at medium speed.
When to add fragrance oil to body butter?
After whipping the butters and coconut oil together for 8 minutes, add sweet almond oil and fragrance oil and mix one minute longer.

Get your containers ready to fill. Glass jars with lids are best, but I also used a few small wide-mouthed containers to give out for samples or would be great for traveling.
If you want to achieve the swirled look, use a piping bag fitted with a Wilton 1M tip.

Scoop out or pipe body butter into containers and place lid on.
If you are gifting, place a tag or label with contents and scent information.

The swirled piping creates a beautiful effect seen from the top and sides.
Now you are ready to enjoy the cloud-like creamy moisture and pamper yourself, or these make great gifts.
How long does DIY whipped body butter last? In a clean glass container with a tight-fitting lid, it should last around 5-6 months stored at room temperature (between 55-75℉) and most importantly, store out of direct sunlight.

Enjoy!
💜Julie

DIY Whipped Body Butter
Ingredients
Instructions
- To a double boiler, add shea butter, coconut oil and cocoa butter.
- Melt over medium heat, stirring constantly until translucent and fully melted.
- Remove from heat and let sit and cool for 5 minutes, then transfer to mixing bowl and place in fridge.
- Let cool in fridge for about one hour, or until starts to harden, but still a little soft.
- Remove from fridge and use a hand-held mixer to whip and mix until light and fluffy, about 8 minutes at medium speed.
- Next, add sweet almond oil and fragrance oil and mix one minute longer.
- Get your containers ready to fill. Glass jars with lids are best, but I also used a few small wide-mouthed containers to give out for samples or would be great for traveling. (If you want to achieve the swirled look, use a piping bag fitted with a Wilton 1M tip.)
- Scoop out or pipe body butter into containers and place lid on. (If you are gifting, place a tag or label with contents and scent information.)
- Now you are ready to enjoy the cloud-like creamy moisture and pamper yourself, or these make great gifts.
- Store at room temperature, out of direct sunlight. Safe to use for 5-6 months.