
Glazed Ham
This delicious glazed ham recipe can be enjoyed anytime of the year. Our family has always traditionally served ham at Christmas and Easter. The glaze is made from my son’s favorite beverage, Cheerwine!

We usually have 6-8 guests at our gatherings, so I bought a 9 lb bone-in half ham, but this recipe is enough glaze for a larger full-size ham, up to 20 lbs.
Created in 1917, Cheerwine is a cherry flavored soda that is huge in North Carolina. Salisbury, it’s hometown, holds a Cheerwine festival every year, serving up anything from Cheerwine tacos, Cheerwine popcorn and funnel cakes, to good old-fashioned Cheerwine floats. It’s truly a beloved festival that my son looks forward to every year. For more information on this fun southern festival, check out there website at this link: HERE.
NOTE: You can substitute Cheerwine for other dark colas, such as coke or Dr. P, but if you’re from North Carolina…it’s just wrong! Use that burgundy-red, bubbly, effervescent goodness!
What size ham do I need? We usually have 6-8 guests at our gatherings, so I bought a 9 lb. bone-in half ham, but this recipe is enough glaze for a larger full-size ham, up to 20 lbs. Generally speaking, the best practice for choosing the right size for a bone-in ham is to go by 1/2 lb. weight per person, and then some. You’ll have some people eat more, some eat less, and you’ll always have some people that want leftovers (like me!)
Let’s Begin!
Ingredients:
- Bone-in, fully-cooked smoked ham, whatever size you need for the amount of people at gathering. A half ham (around 8-10 lbs) feeds up to 8 people(with leftovers), or a full-size ham, 18-20 lbs, feeds around 20 adults.
- Whole cloves, about 40-50 (optional)
- 3 cups brown sugar, lightly packed
- 1/2 cup spicy brown mustard
- 3 tbsp apple cider vinegar
- One 12 oz can Cheerwine (or a dark soda)
Instructions:
Preheat oven to 300℉ / 155℃, then get out that big ugly ham.
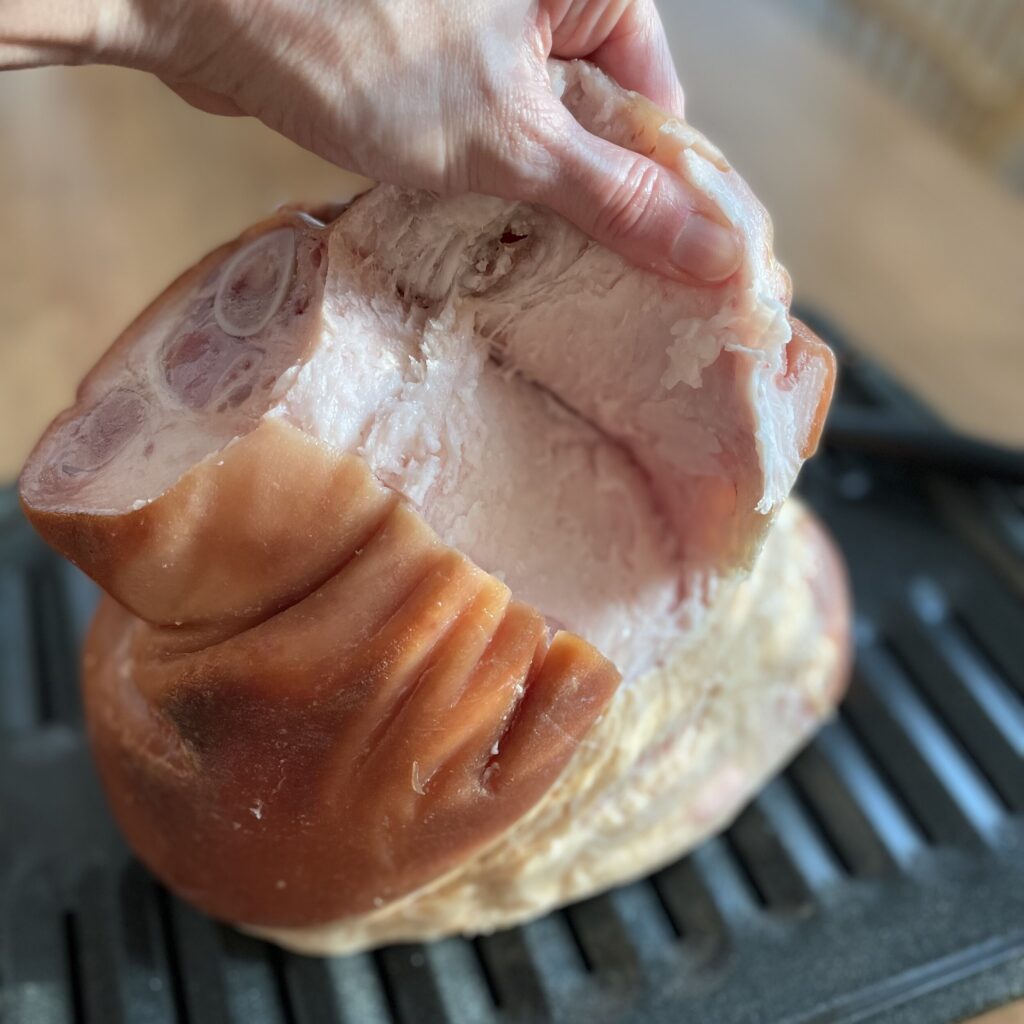
Most bone-in hams will come with a rind. It can be easily removed by making a slit down side of rind, then carefully peel away from layer of fat. If tough to start, try sliding a knife right underneath rind, to loosen.
You will want to leave the layer of fat, it will make your ham SO juicy! I know it’s not a pretty sight right now, but the end result is praiseworthy from everyone who gets the pleasure of enjoying it!
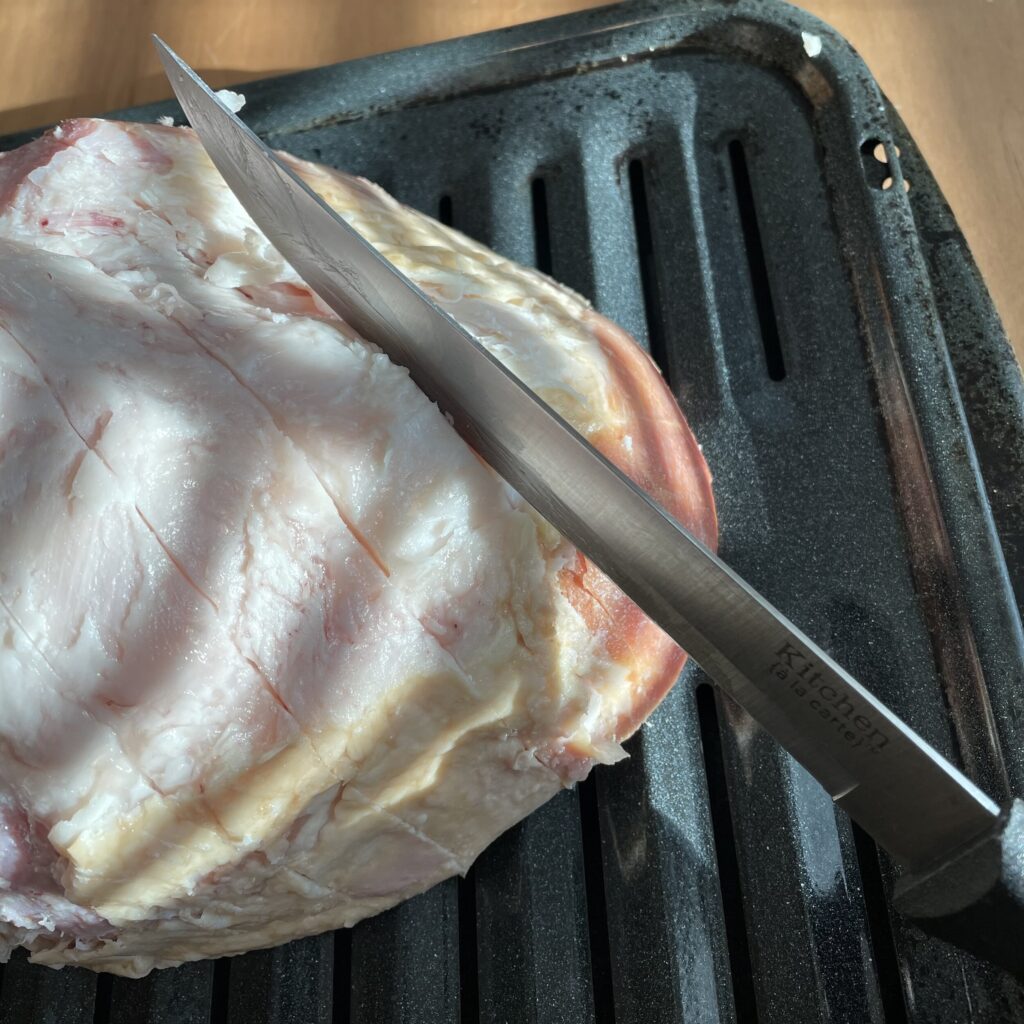
Next, use a sharp knife to score parallel lines in one direction…
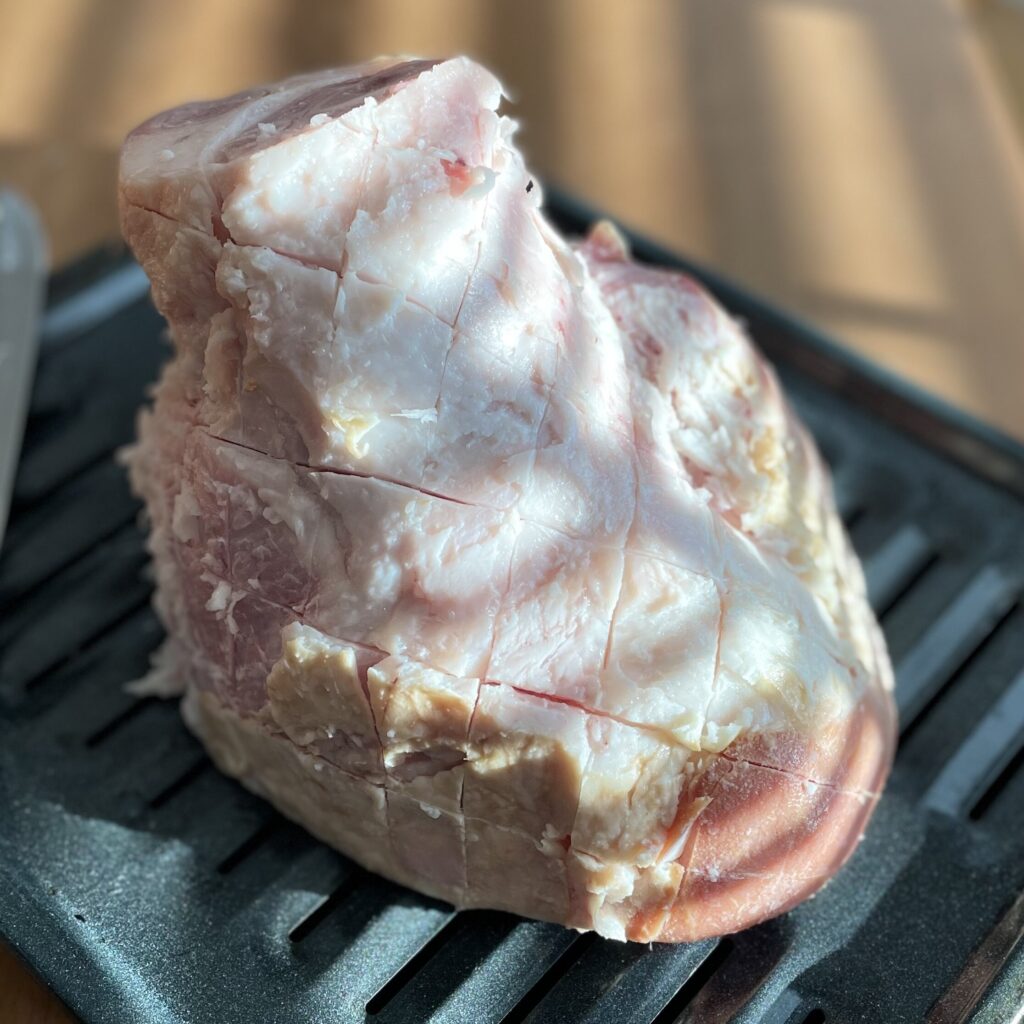
…then cut lines at an angle in the other direction, making diamond shapes throughout. (As shown)
Why add whole cloves to a ham? Not only do the cloves add a wonderful flavor touch to the ham, but the aroma is also amazing as it bakes. They also add a beautiful, bejeweled look to your ham for a lovely presentation and are easily removed before consuming the ham.
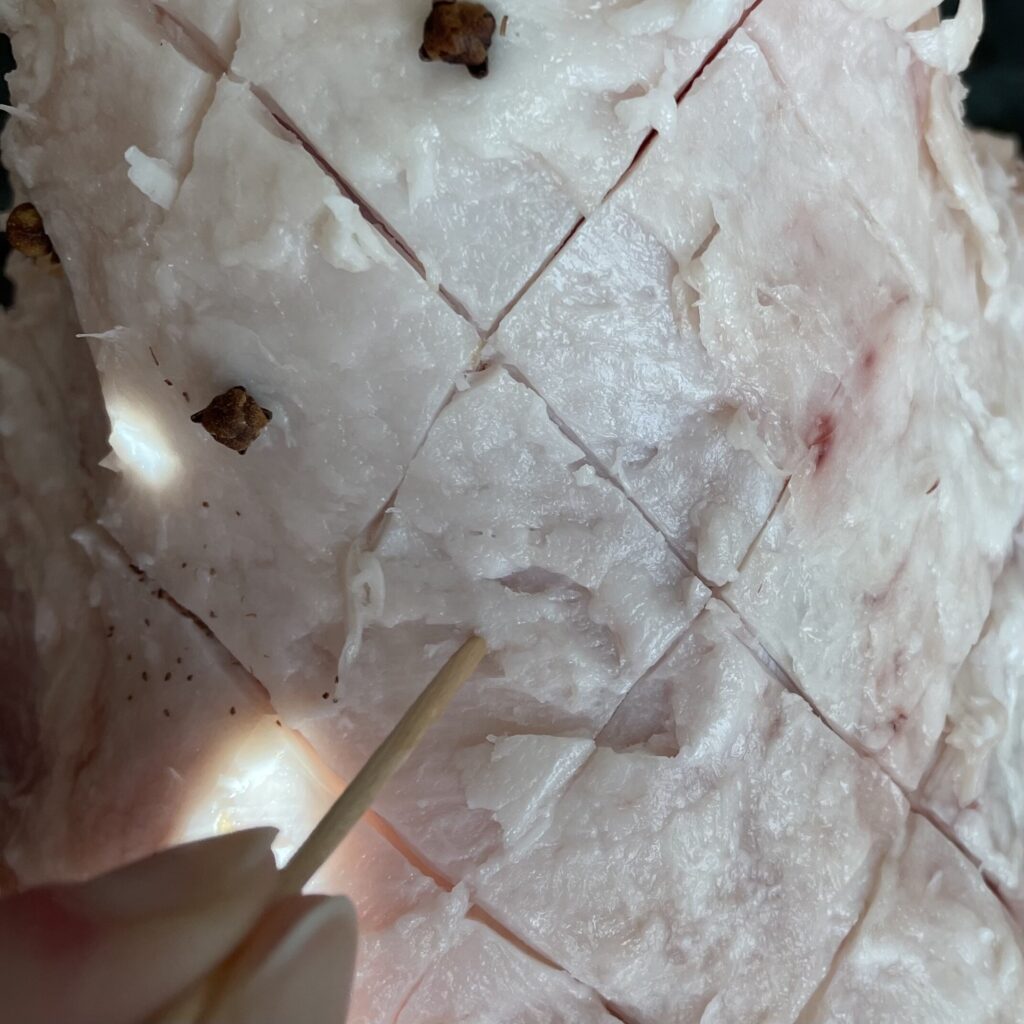
Next step is to insert a whole clove in the center of each diamond. Hint: you can use a toothpick to start the hole where clove will be inserted, to lessen the chance of clove breaking. (See photo)
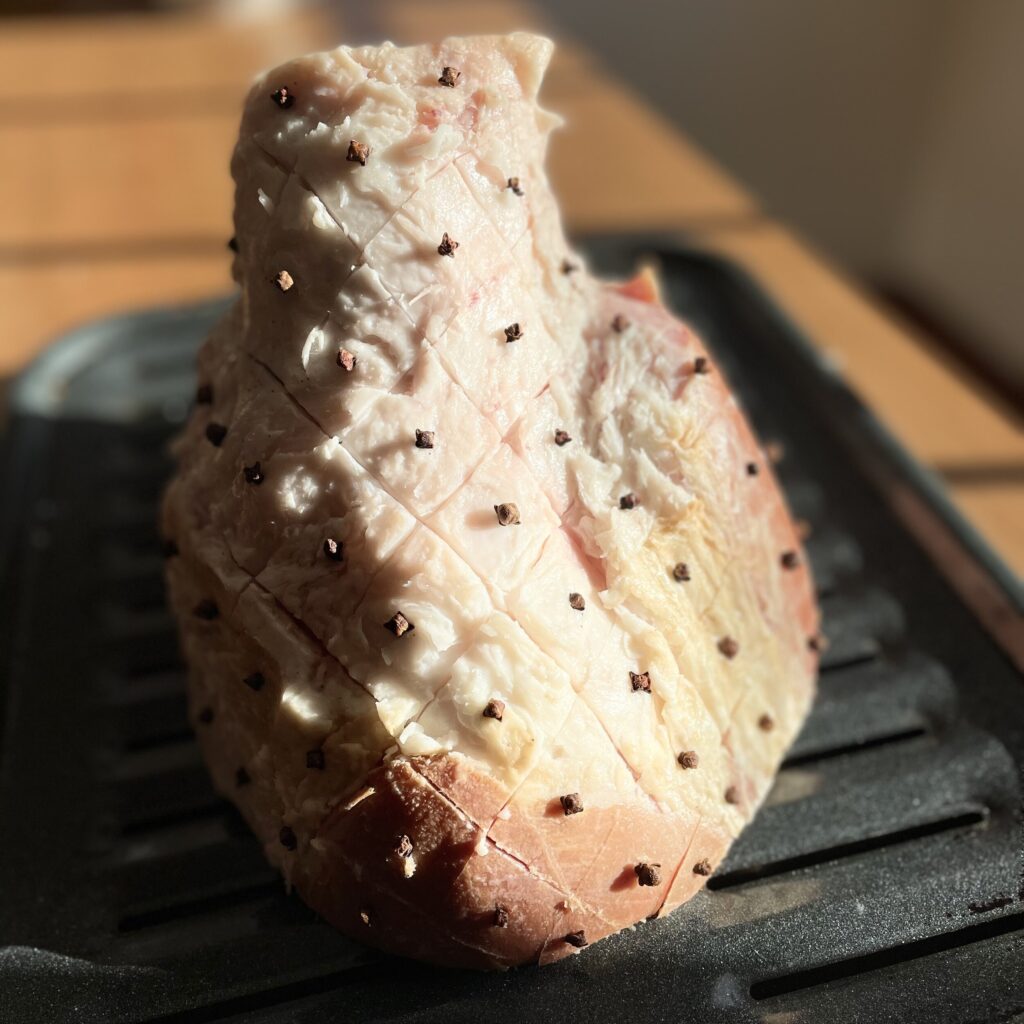
Here is the finished ham, right before oven.Now, cover ham lightly with foil and slowly heat in oven for 2 hours at 310℉ / 155℃ on a roasting pan, with rack.
After putting ham in the oven, you can get a few things done before company comes,
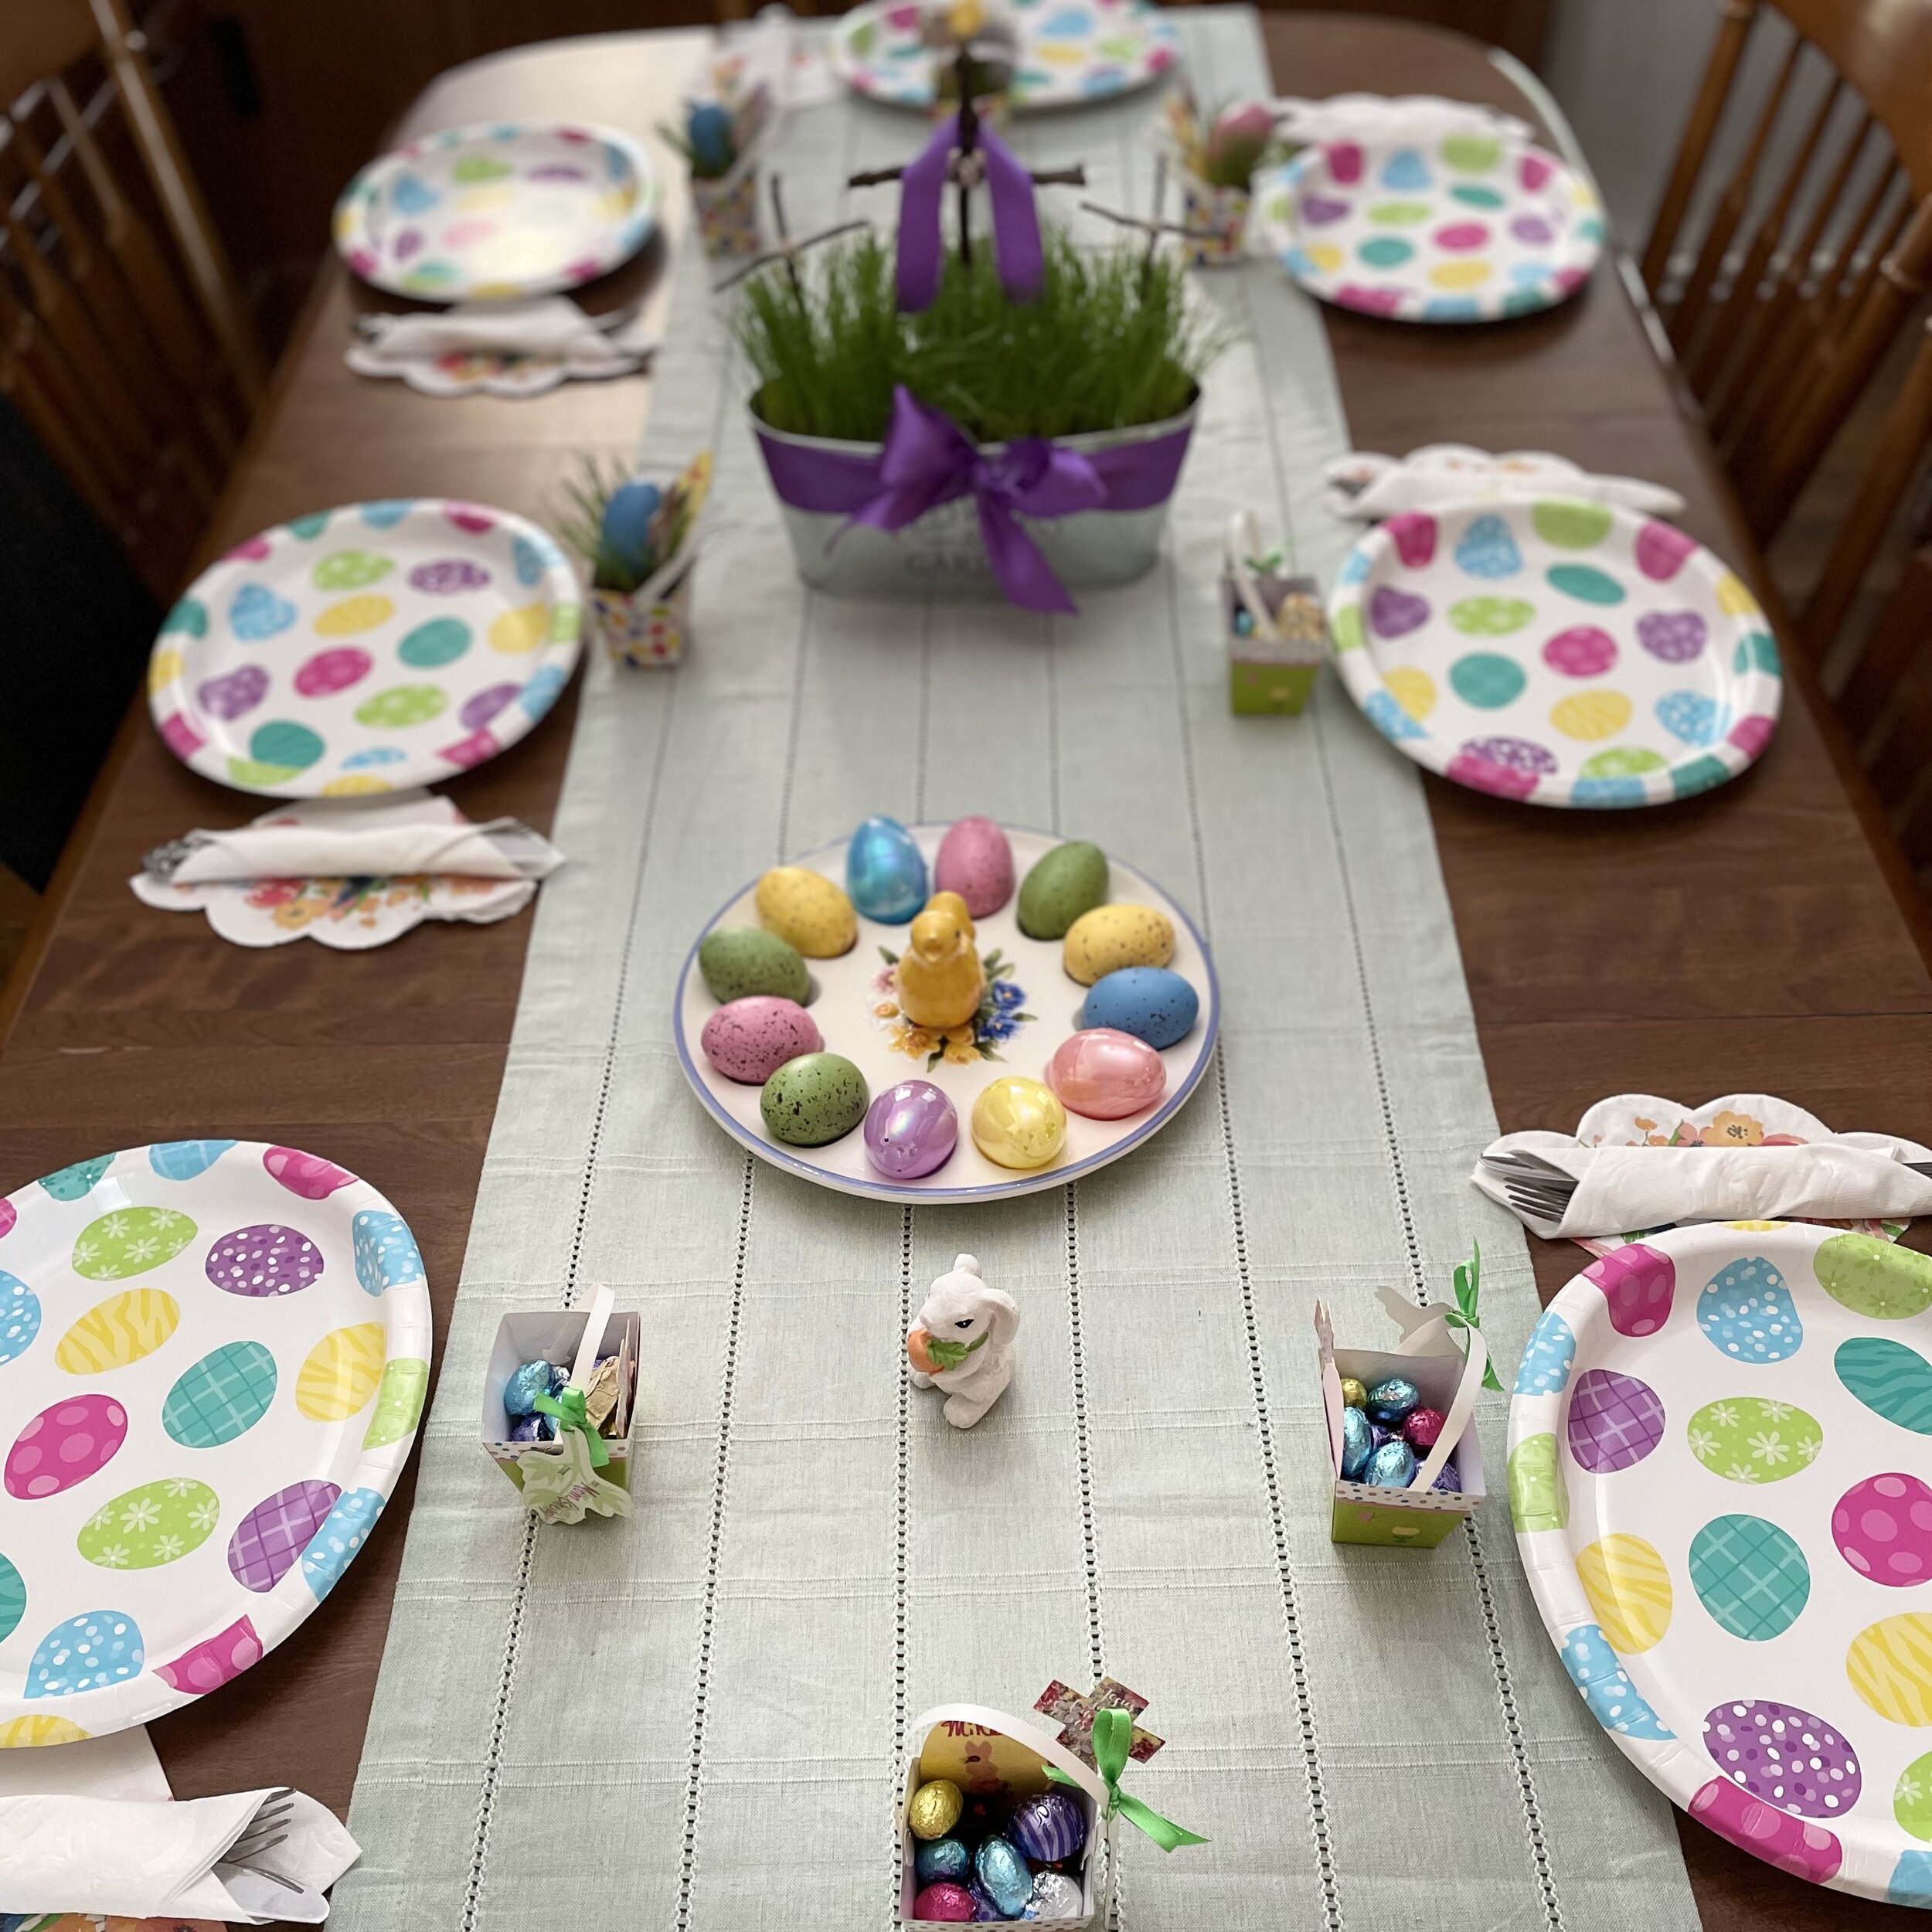
…like setting the table for the special occasion…
Glaze:
Now, for the star of the show…
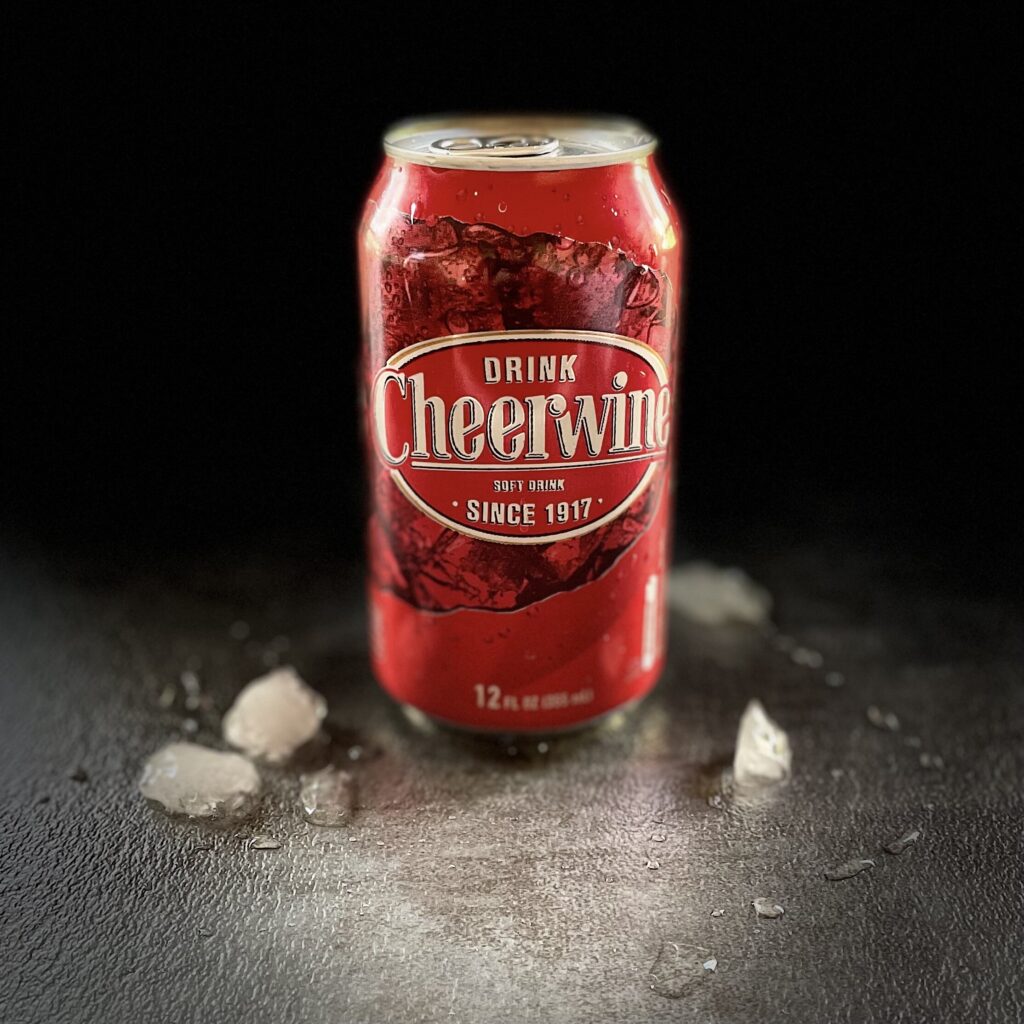
Just look at that beautiful Cheerwine!
So to begin the glaze, find a tall medium or large saucepot and add the brown sugar, spicy mustard, vinegar and of course, the star of the glaze….Cheerwine!
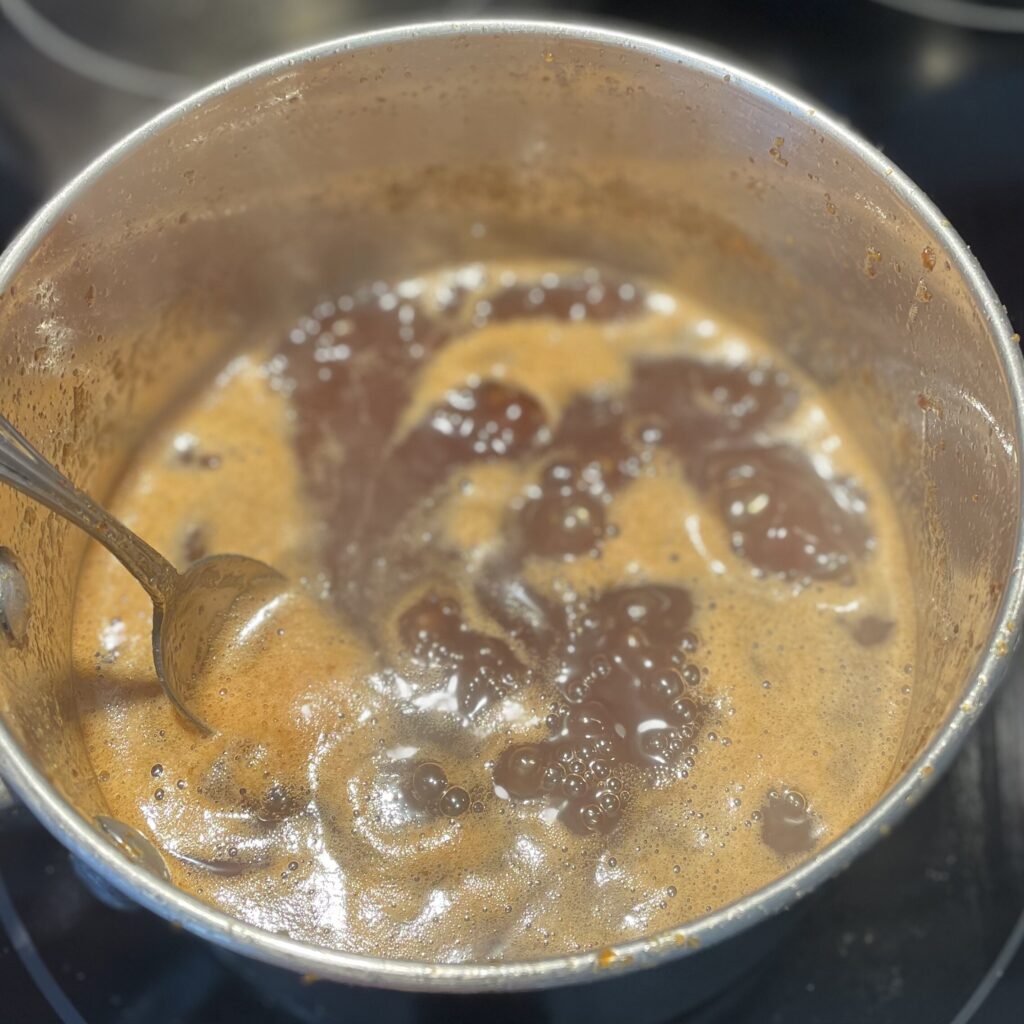
Mix together ingredients and bring to a boil. Watch carefully, and as soon as boil begins, reduce heat to simmer. (believe me, you do not want a boiled over mess on your stove on a big cooking day, so don’t get too far away from your glaze pot!) Simmer for 15-20 minutes, until thicker and darker, then you’ll know it’s ready.
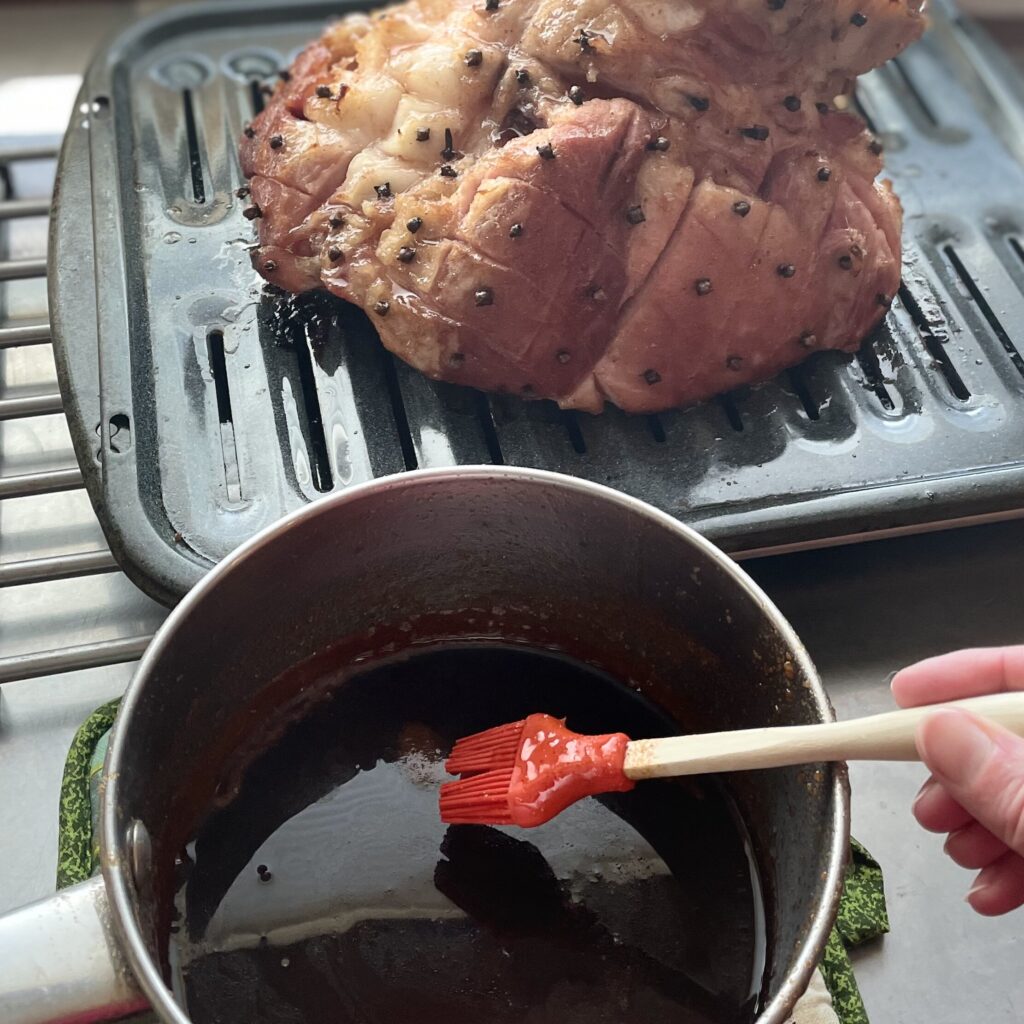
Next, after ham has heated for 2 hours, remove from oven, remove foil and brush on your first coat of glaze. Put back in oven, uncovered, for another 20 minutes.Be sure to enjoy that medley of smells from the smoked ham, cloves and glaze…ah, so good!
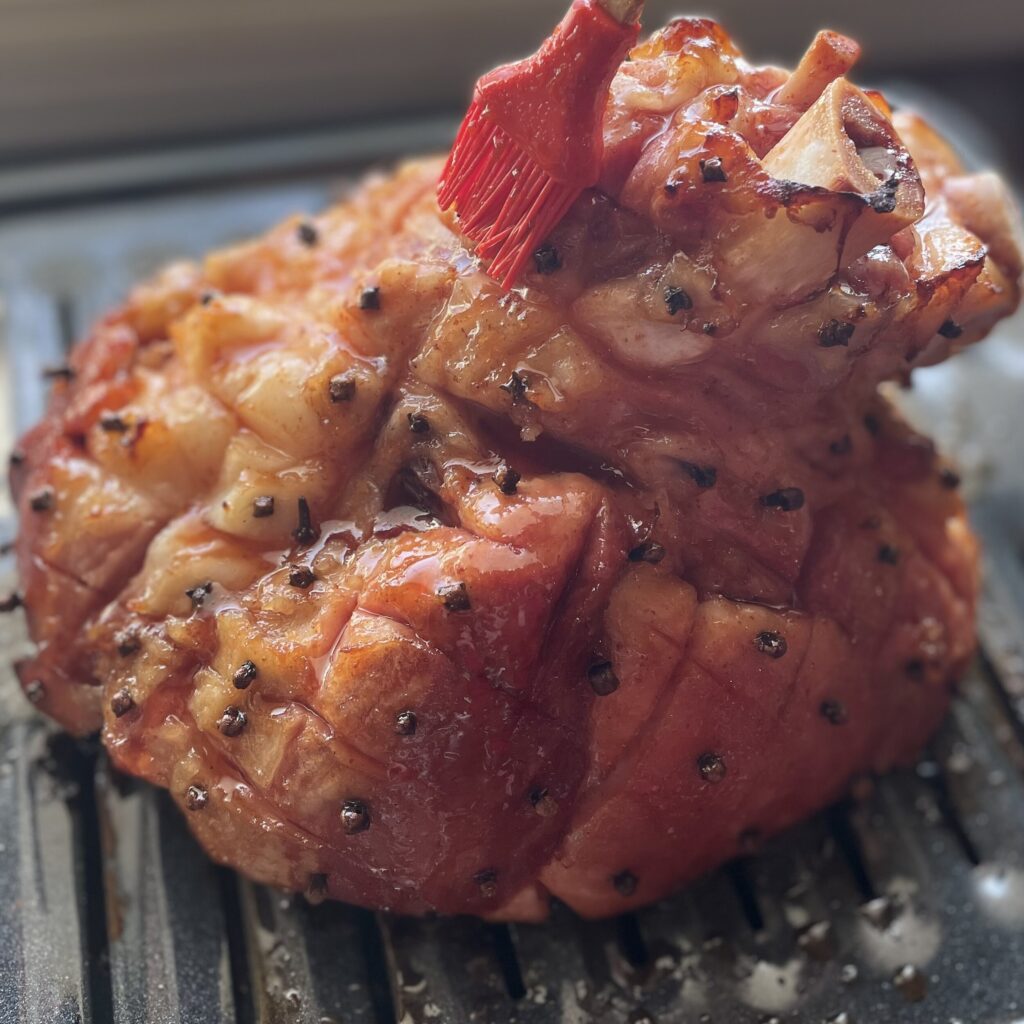
Remove from oven and add another glaze. Return to oven for 20 more minutes……and remove and glaze again. I usually add three layers of glaze, but you can add more if you’d like or if time allows.
After at least three rounds of glazing, remove your ham from oven and let cool about 5-10 minutes before removing cloves and trimming off the fat, then slice!
This looks amazing Julie!!! Thanks for sharing.
Thanks Arnetta!! My family says it’s the best ham they’ve ever had. Hope you and Trey are doing well and have a wonderful Easter 🙂 Enjoy!!