Soy Candle Making

A candle brings warmth and coziness to any home, and it’s easier and more cost effective to make your own candles than you think. With a few start-up supplies and some premium fragrance oil, you can be making your own in no time for gifting, selling or just to enjoy yourself. The key to a great candle scent throw is using a premium fragrance oil and adding it at the correct wax temperature. Nature’s Flavors has a bountiful variety of wonderful scents, and I decided to go with a lovely natural, but slightly floral scent of Natural Cedarwood Fragrance Oil (oil soluble) from Nature’s Flavors. It’s an inviting and relaxing scent that is enjoyed by anyone.

Visit Nature’s Flavors to find their Natural Cedarwood Fragrance Oil. Their products are all-natural and made in the USA by a family owned and operated business of over 40 years.
To find this fragrance oil, click HERE and also check out all their other amazing products such as essential oils, flavor powders, syrups, fragrances and more! Their products make great gifts for home bakers and cooks.
Let’s begin!
Ingredients and Supplies:
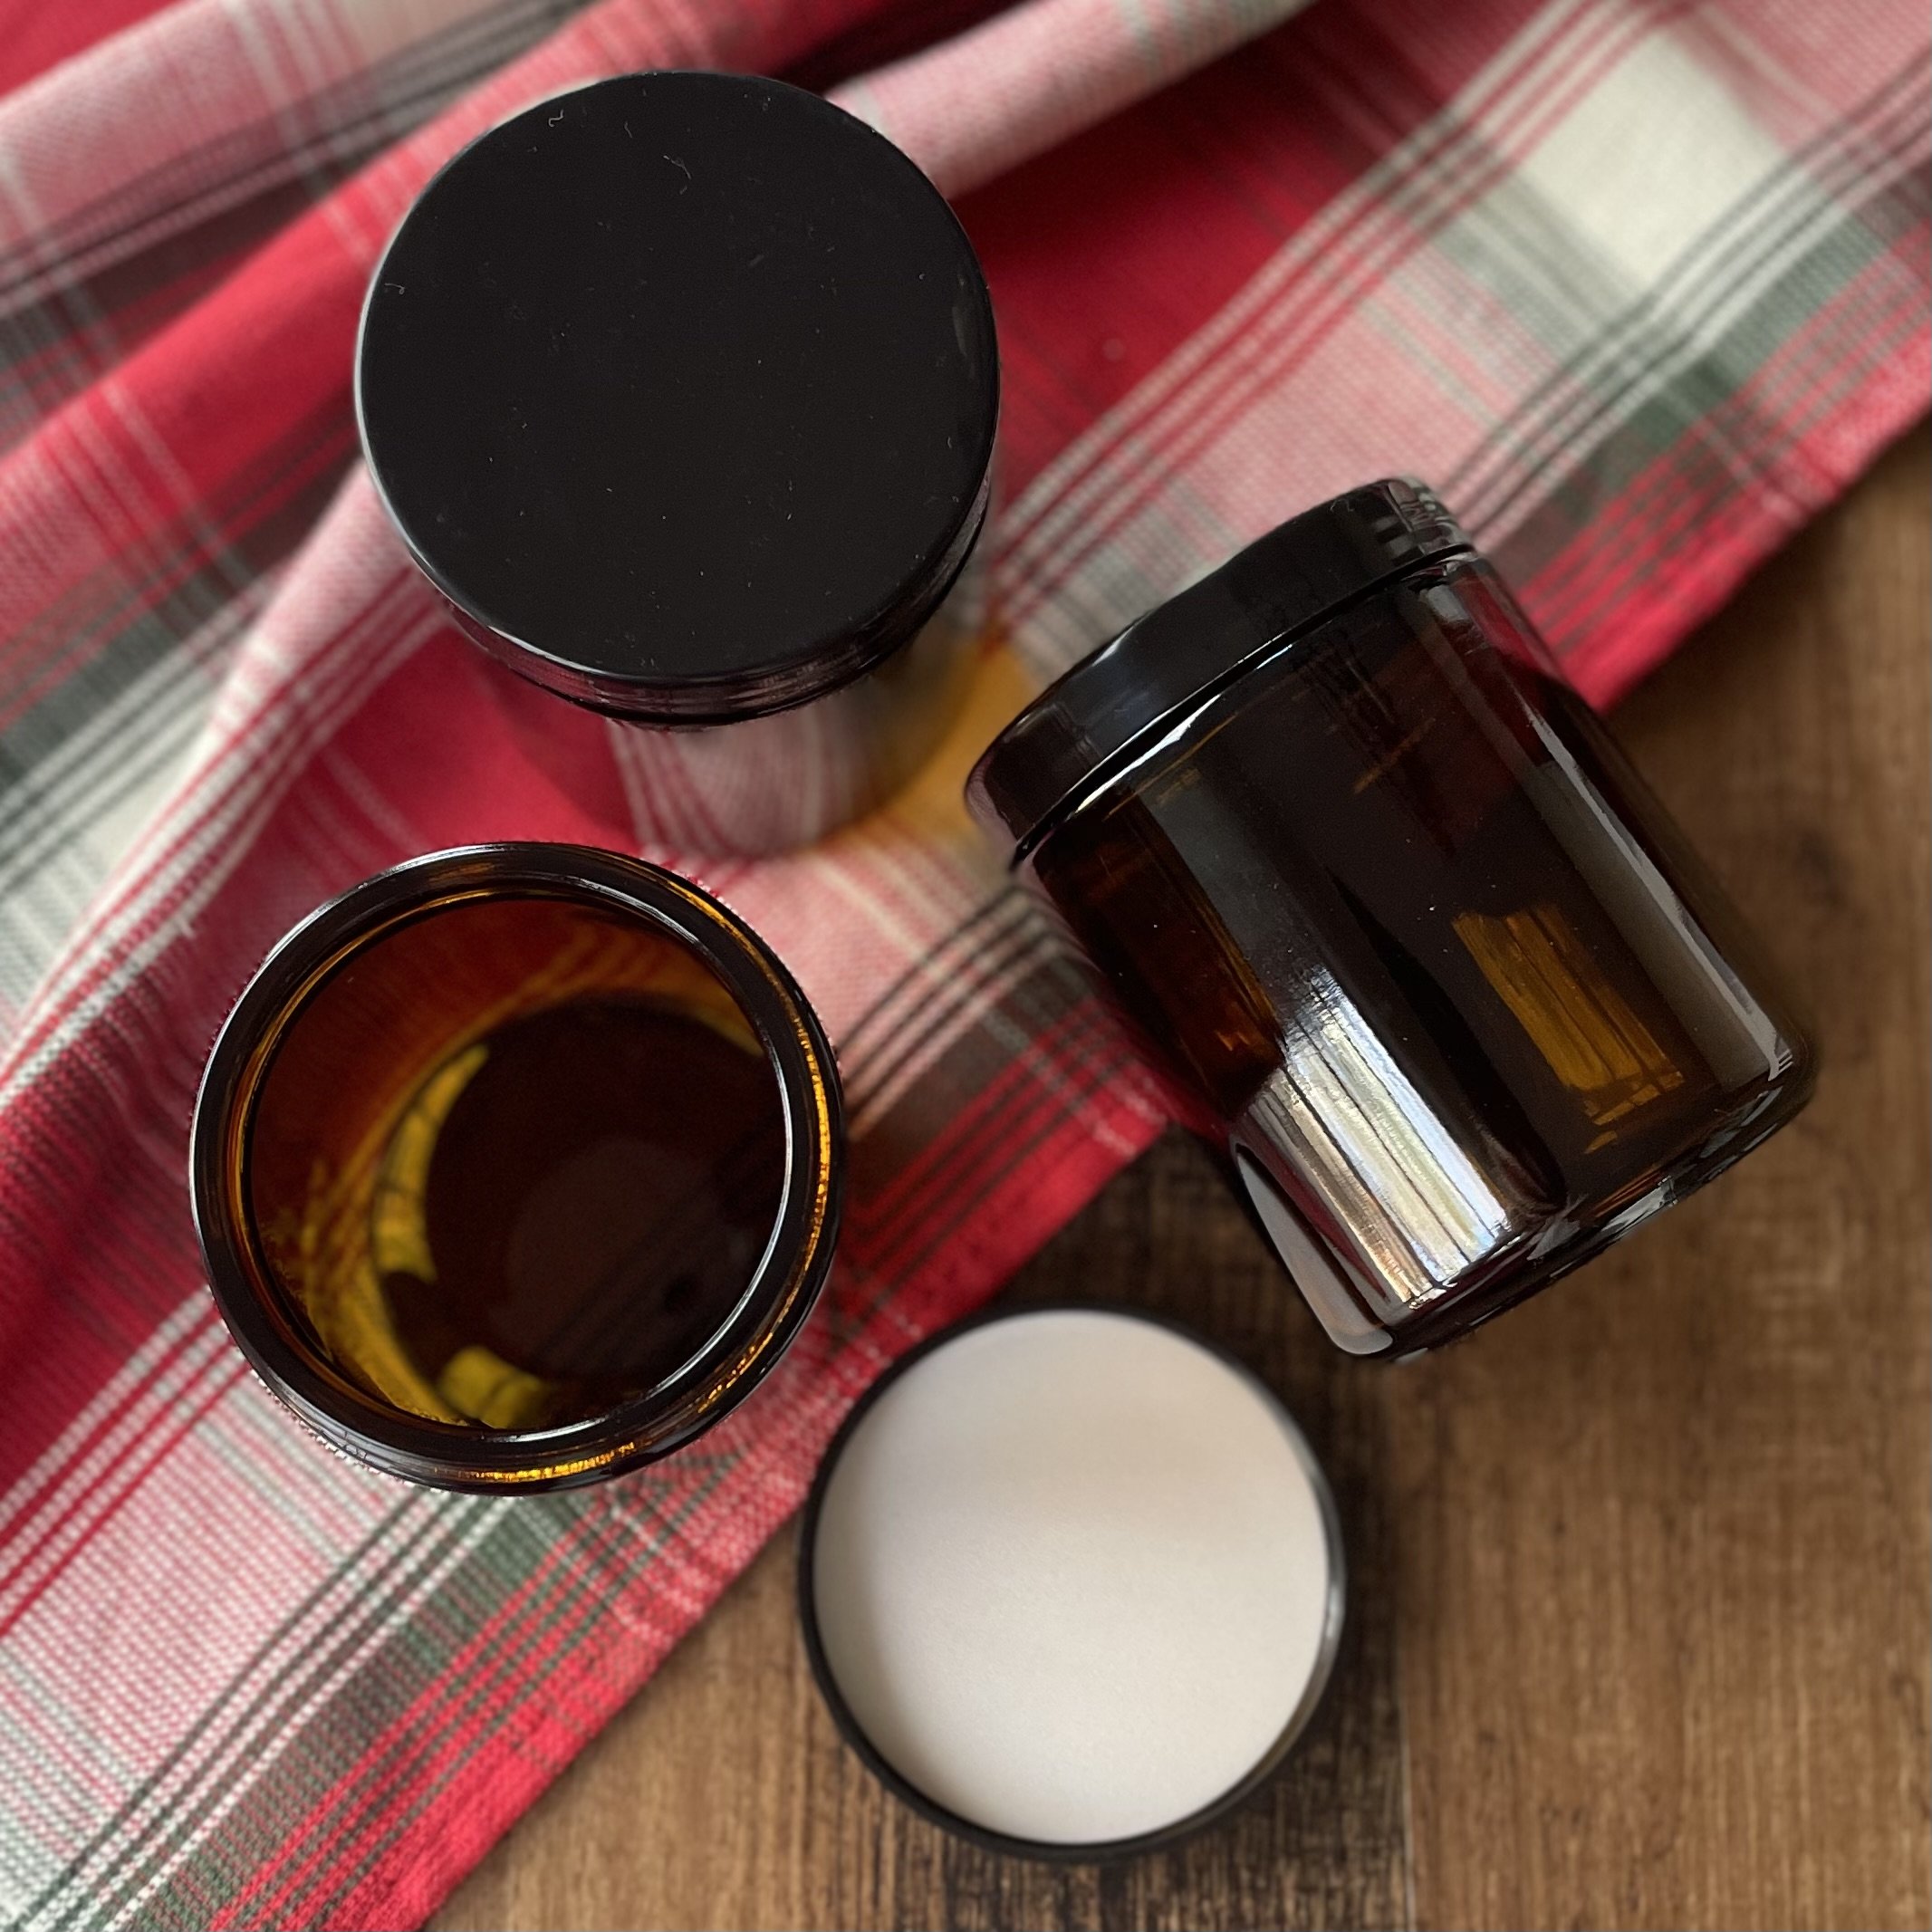
First, you will need a vessel for your candles. Glass is the best, however, I also upcycle aluminum cans by cutting off the tops for a unique candle. (see next photo)

Think out-of-the-box when it comes to candle vessels and use a special lid remover to make a safe opening for upcycling aluminum cans to use for candle making,
You can find this nifty tool by clicking HERE. (Discloser: Inspirationapron.com is reader supported and any purchase through affiliate links may earn Inspiration Apron, LLC an affiliate commission. Any support is greatly appreciated!)

You will need a good quality 100% soy wax. You can find at your local craft store or online.
For this recipe I use 3 cups soy wax and 1oz fragrance oil to make two 8oz candles.

You will need at least one metal candle pour pot. It’s nice to have one with measurements on the side, along with a regular medium pot for holding water to double boil.

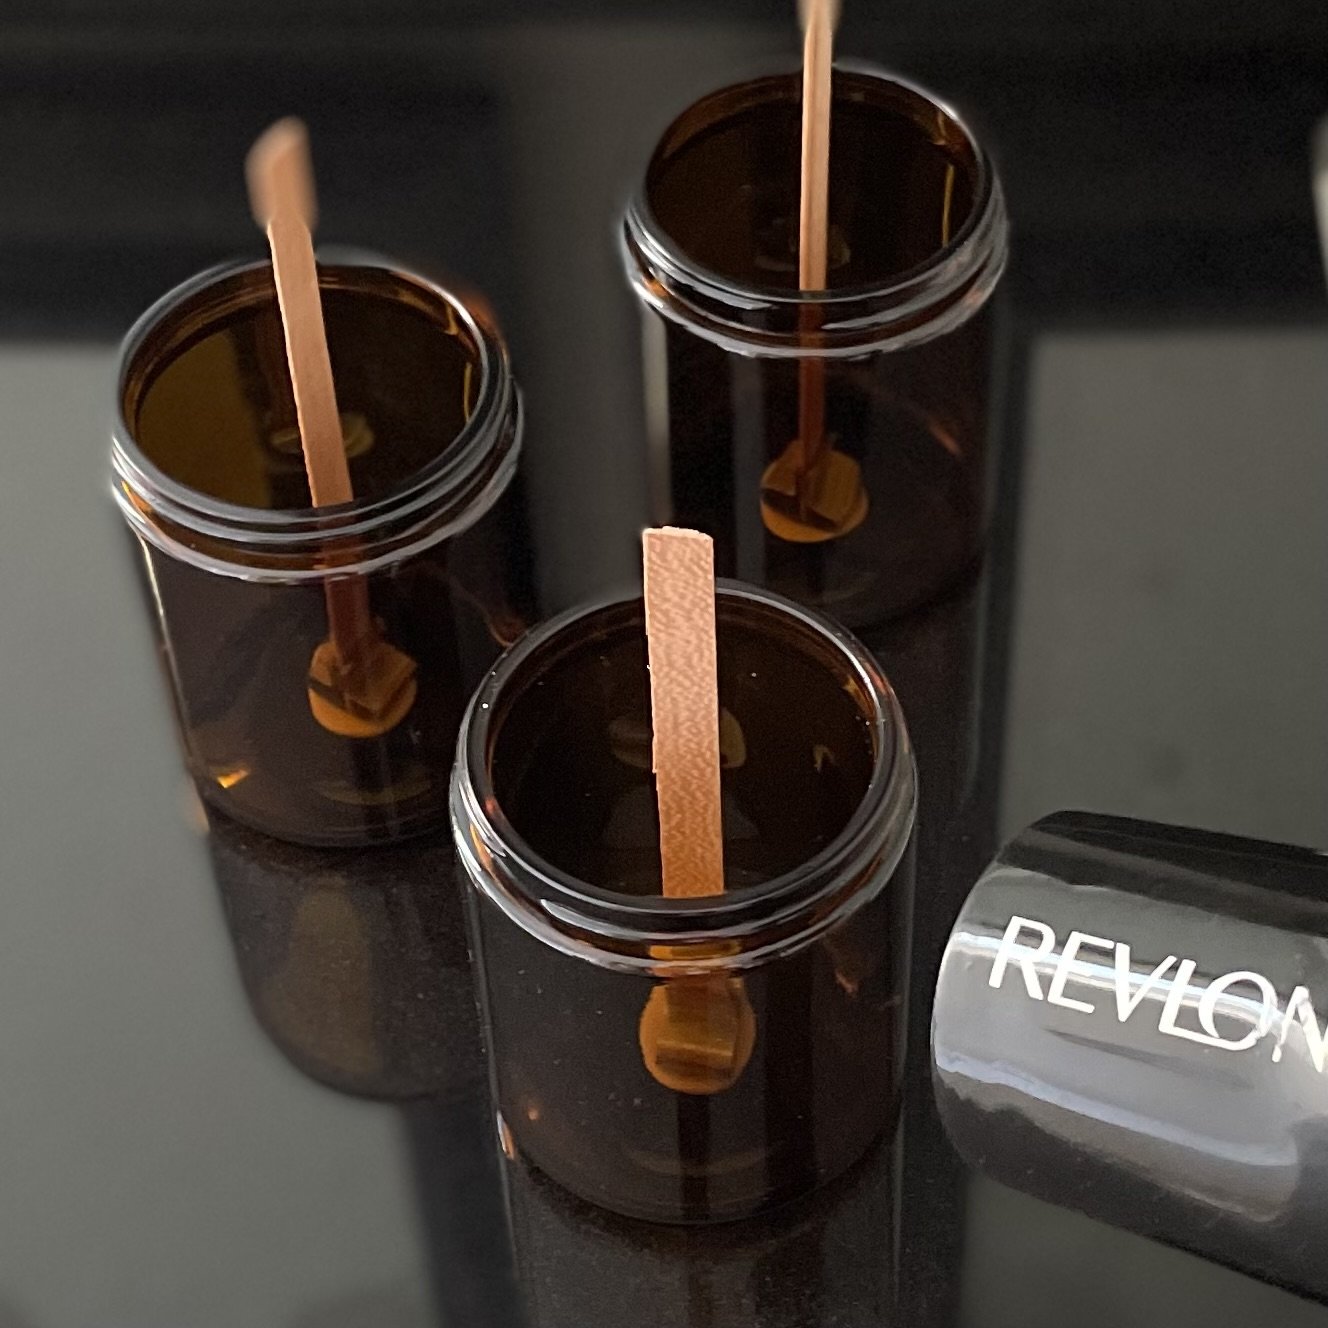
You will need appropriately sized candle wicks. It’s important to have at least a few inches longer wicks than the top of your candle vessel.
I used a variety of wooden wicks and threaded wicks. You will also need some double-sided round stickers for holding the wicks to the bottom of the vessel. (Most are included with the wick package)
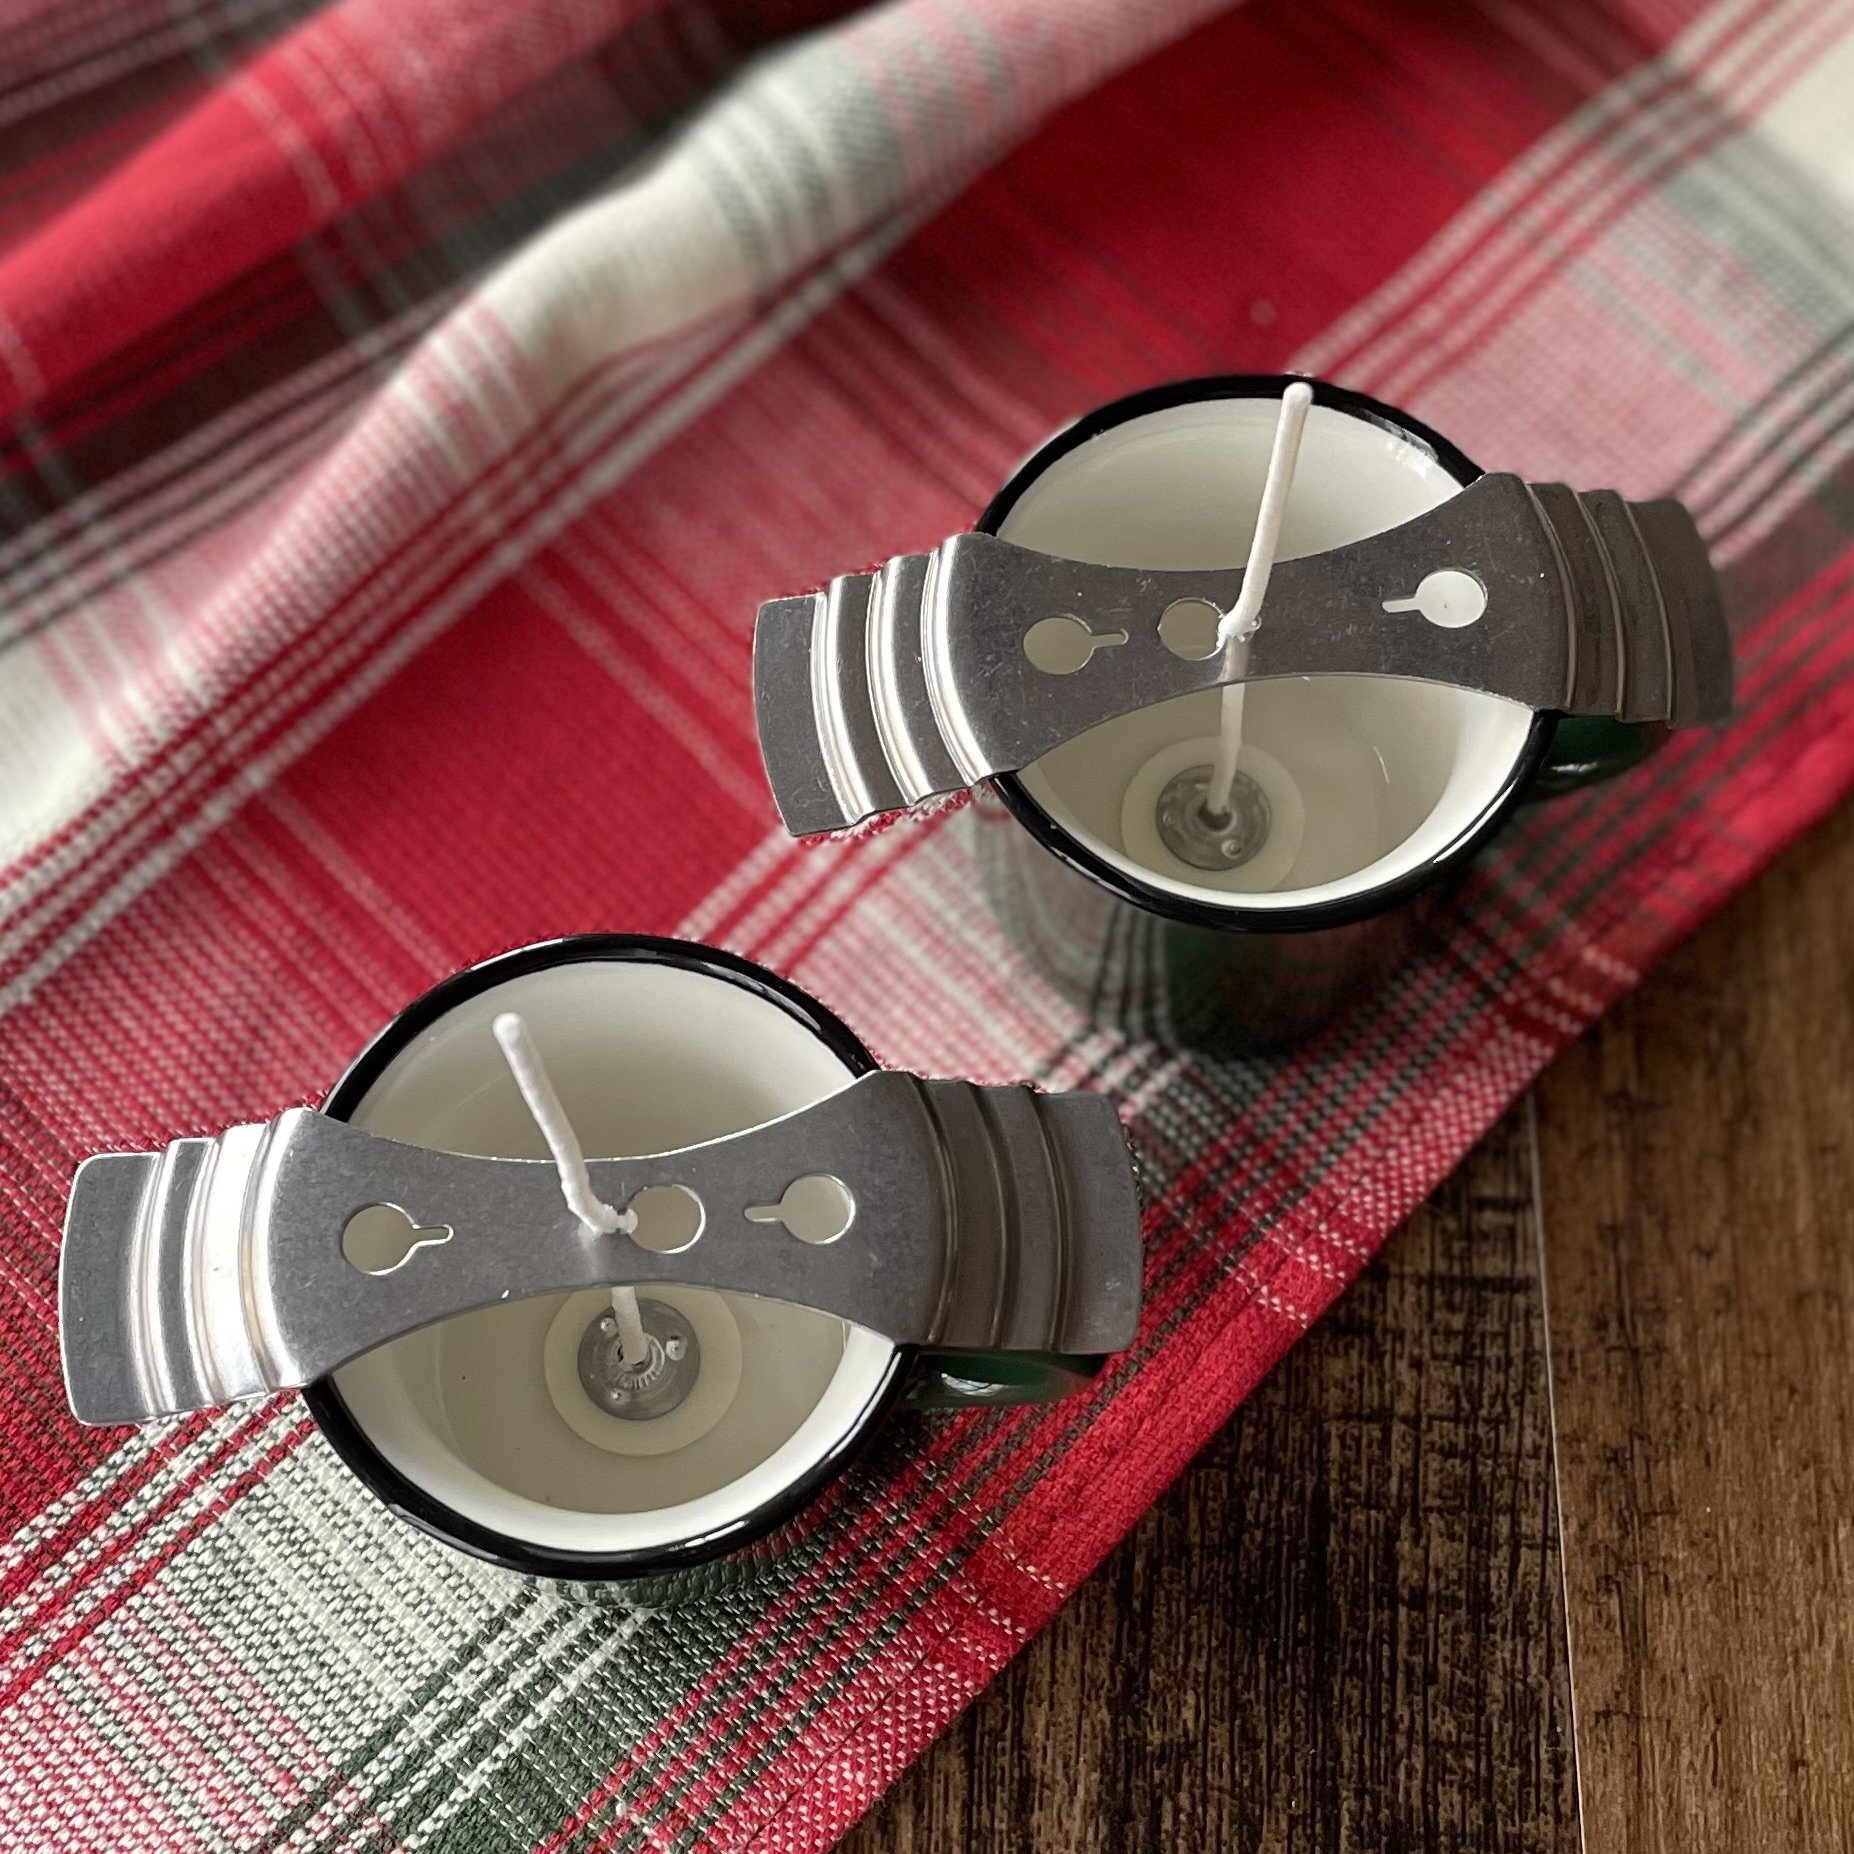
If you are using threaded wicks, you will also need metal wick holders to hold the wick in the correct middle position while candle is cooling and setting.
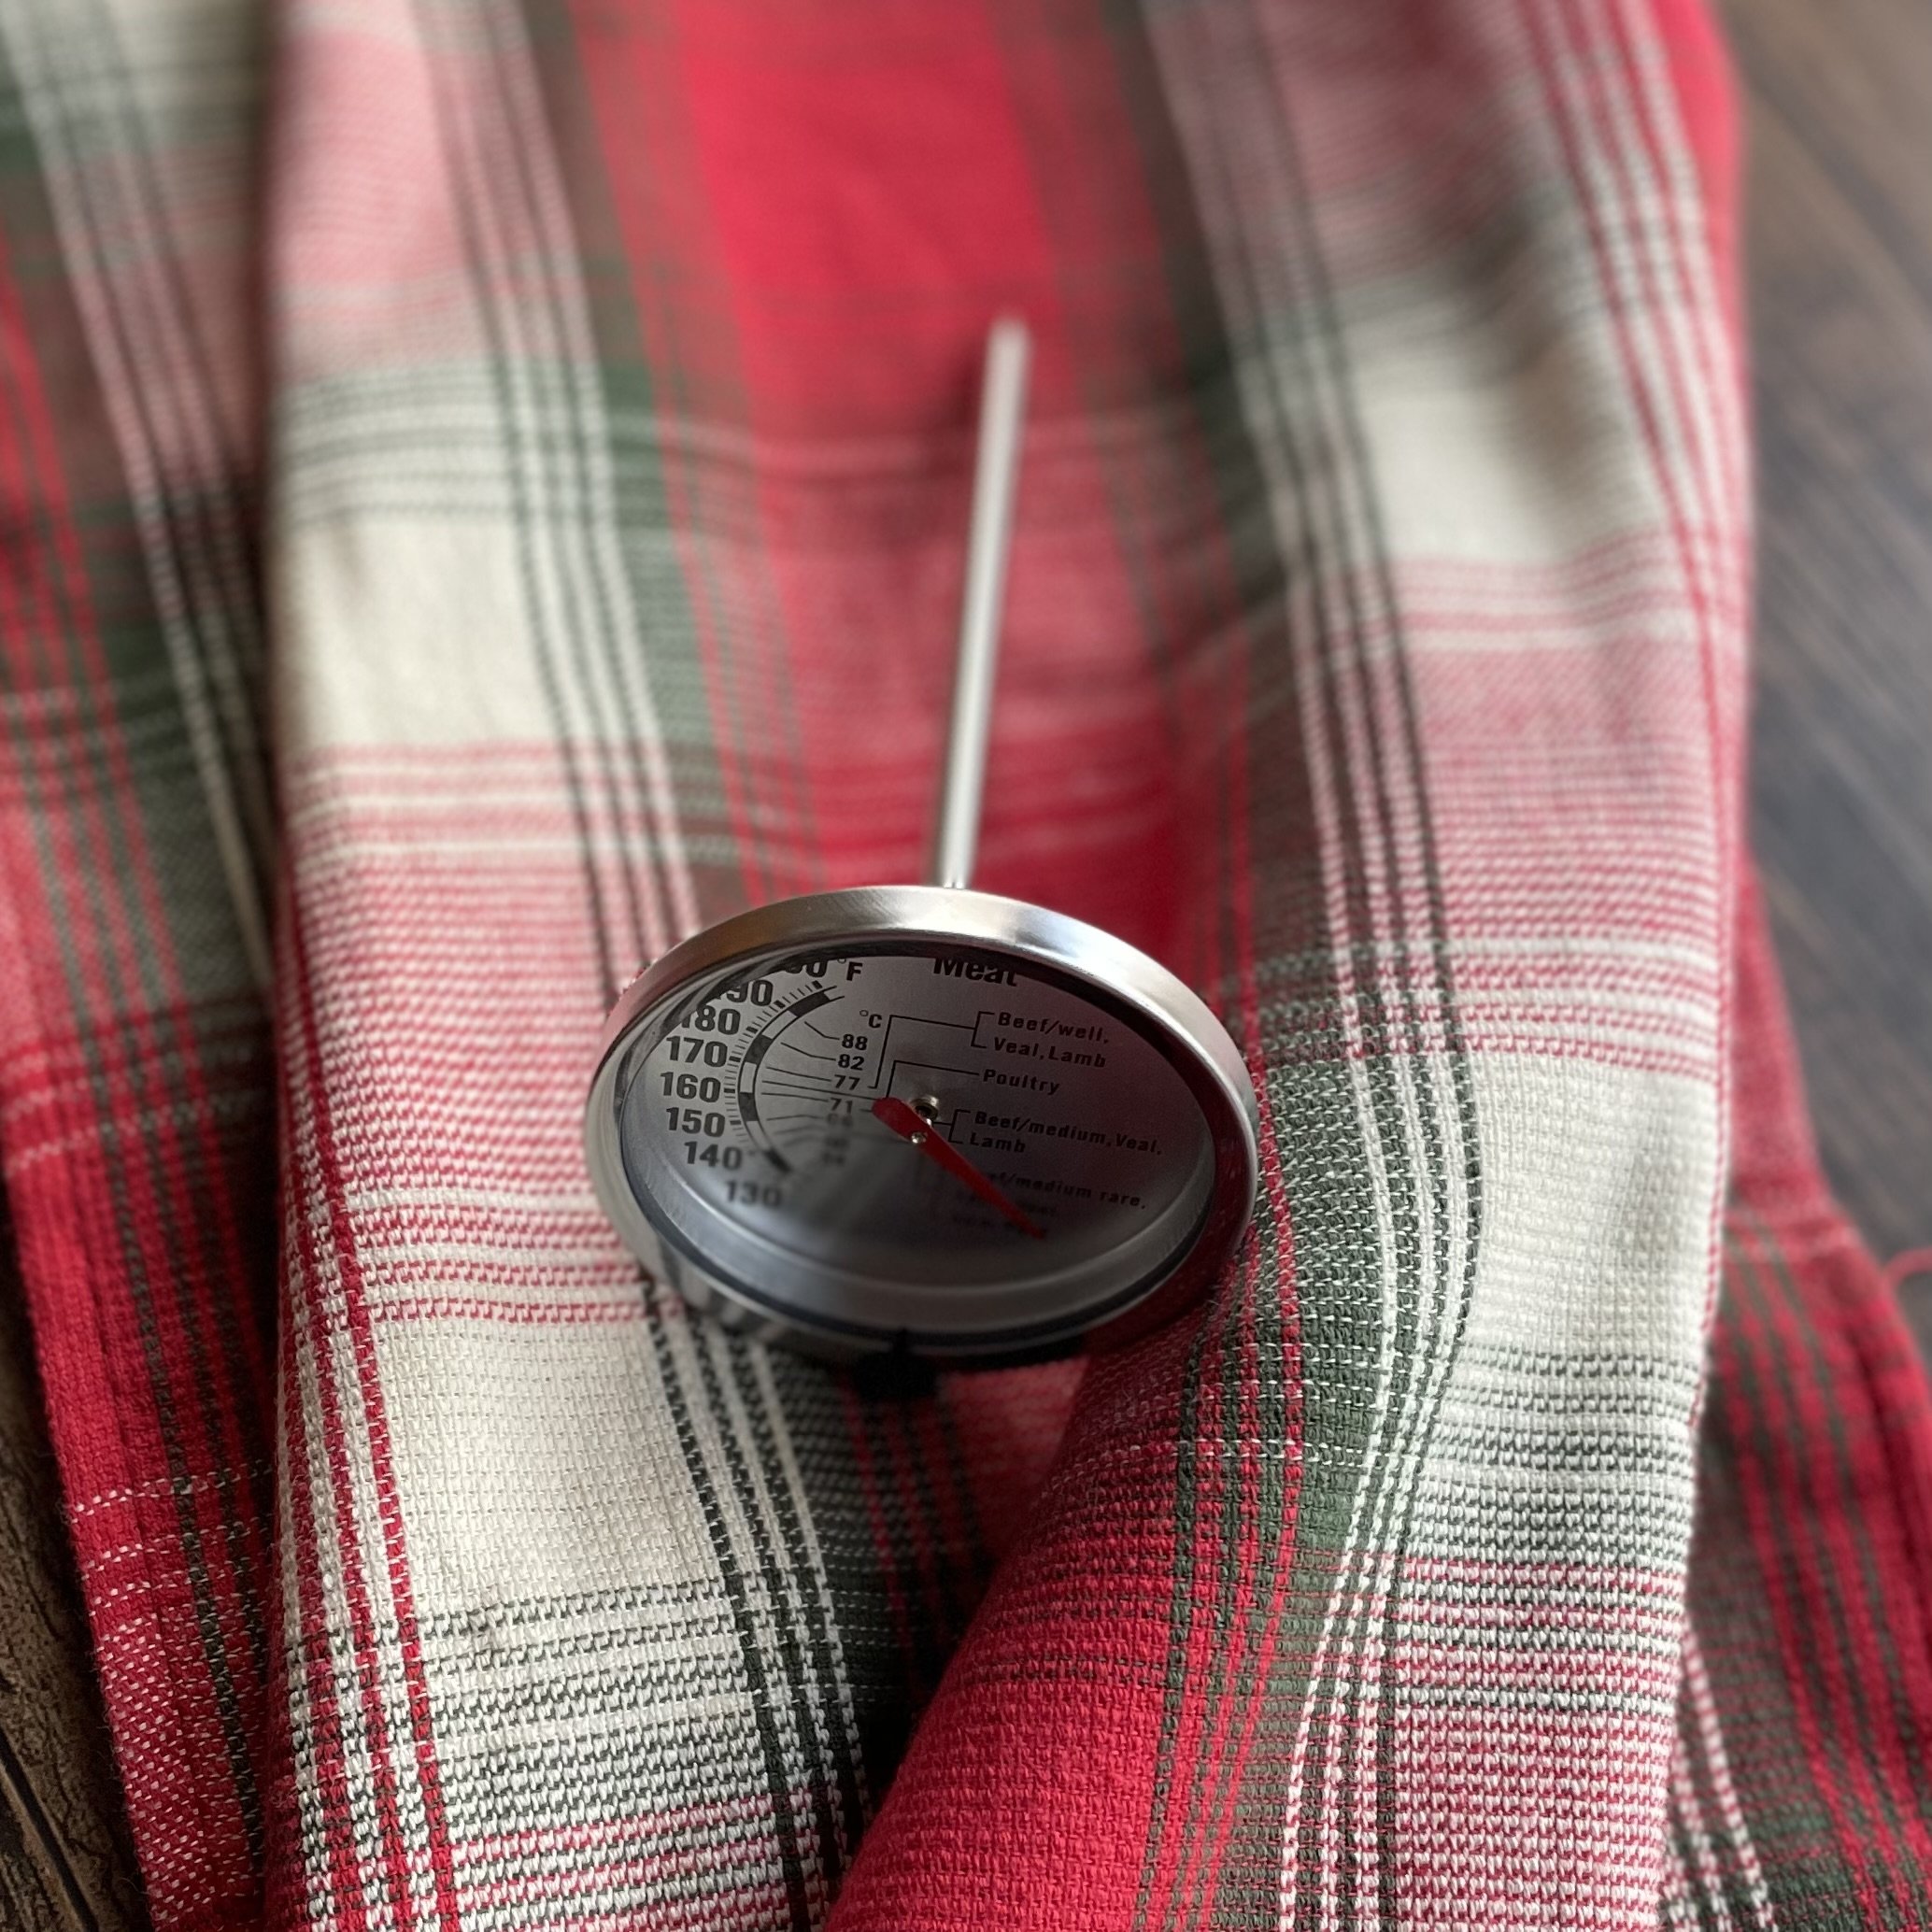
To achieve to perfect candle scent throw, you will need to invest in a food or candy thermometer.
Most fragrance oils used in candles have a flashpoint between 140° F (60° C) and 200°F (93°C), so it’s best to add the fragrance oil as close to the flashpoint as possible, otherwise if too hot, it will vaporize and most of the scent will be lost, or if too cool, the oil might separate from the wax instead of binding during the cooling process. Check the product label or contact the company purchased from to inquire on the exact flashpoint.

For a special touch, you can have some labels printed with the scent and ingredients. These were designed and ordered from Avery.
Instructions:
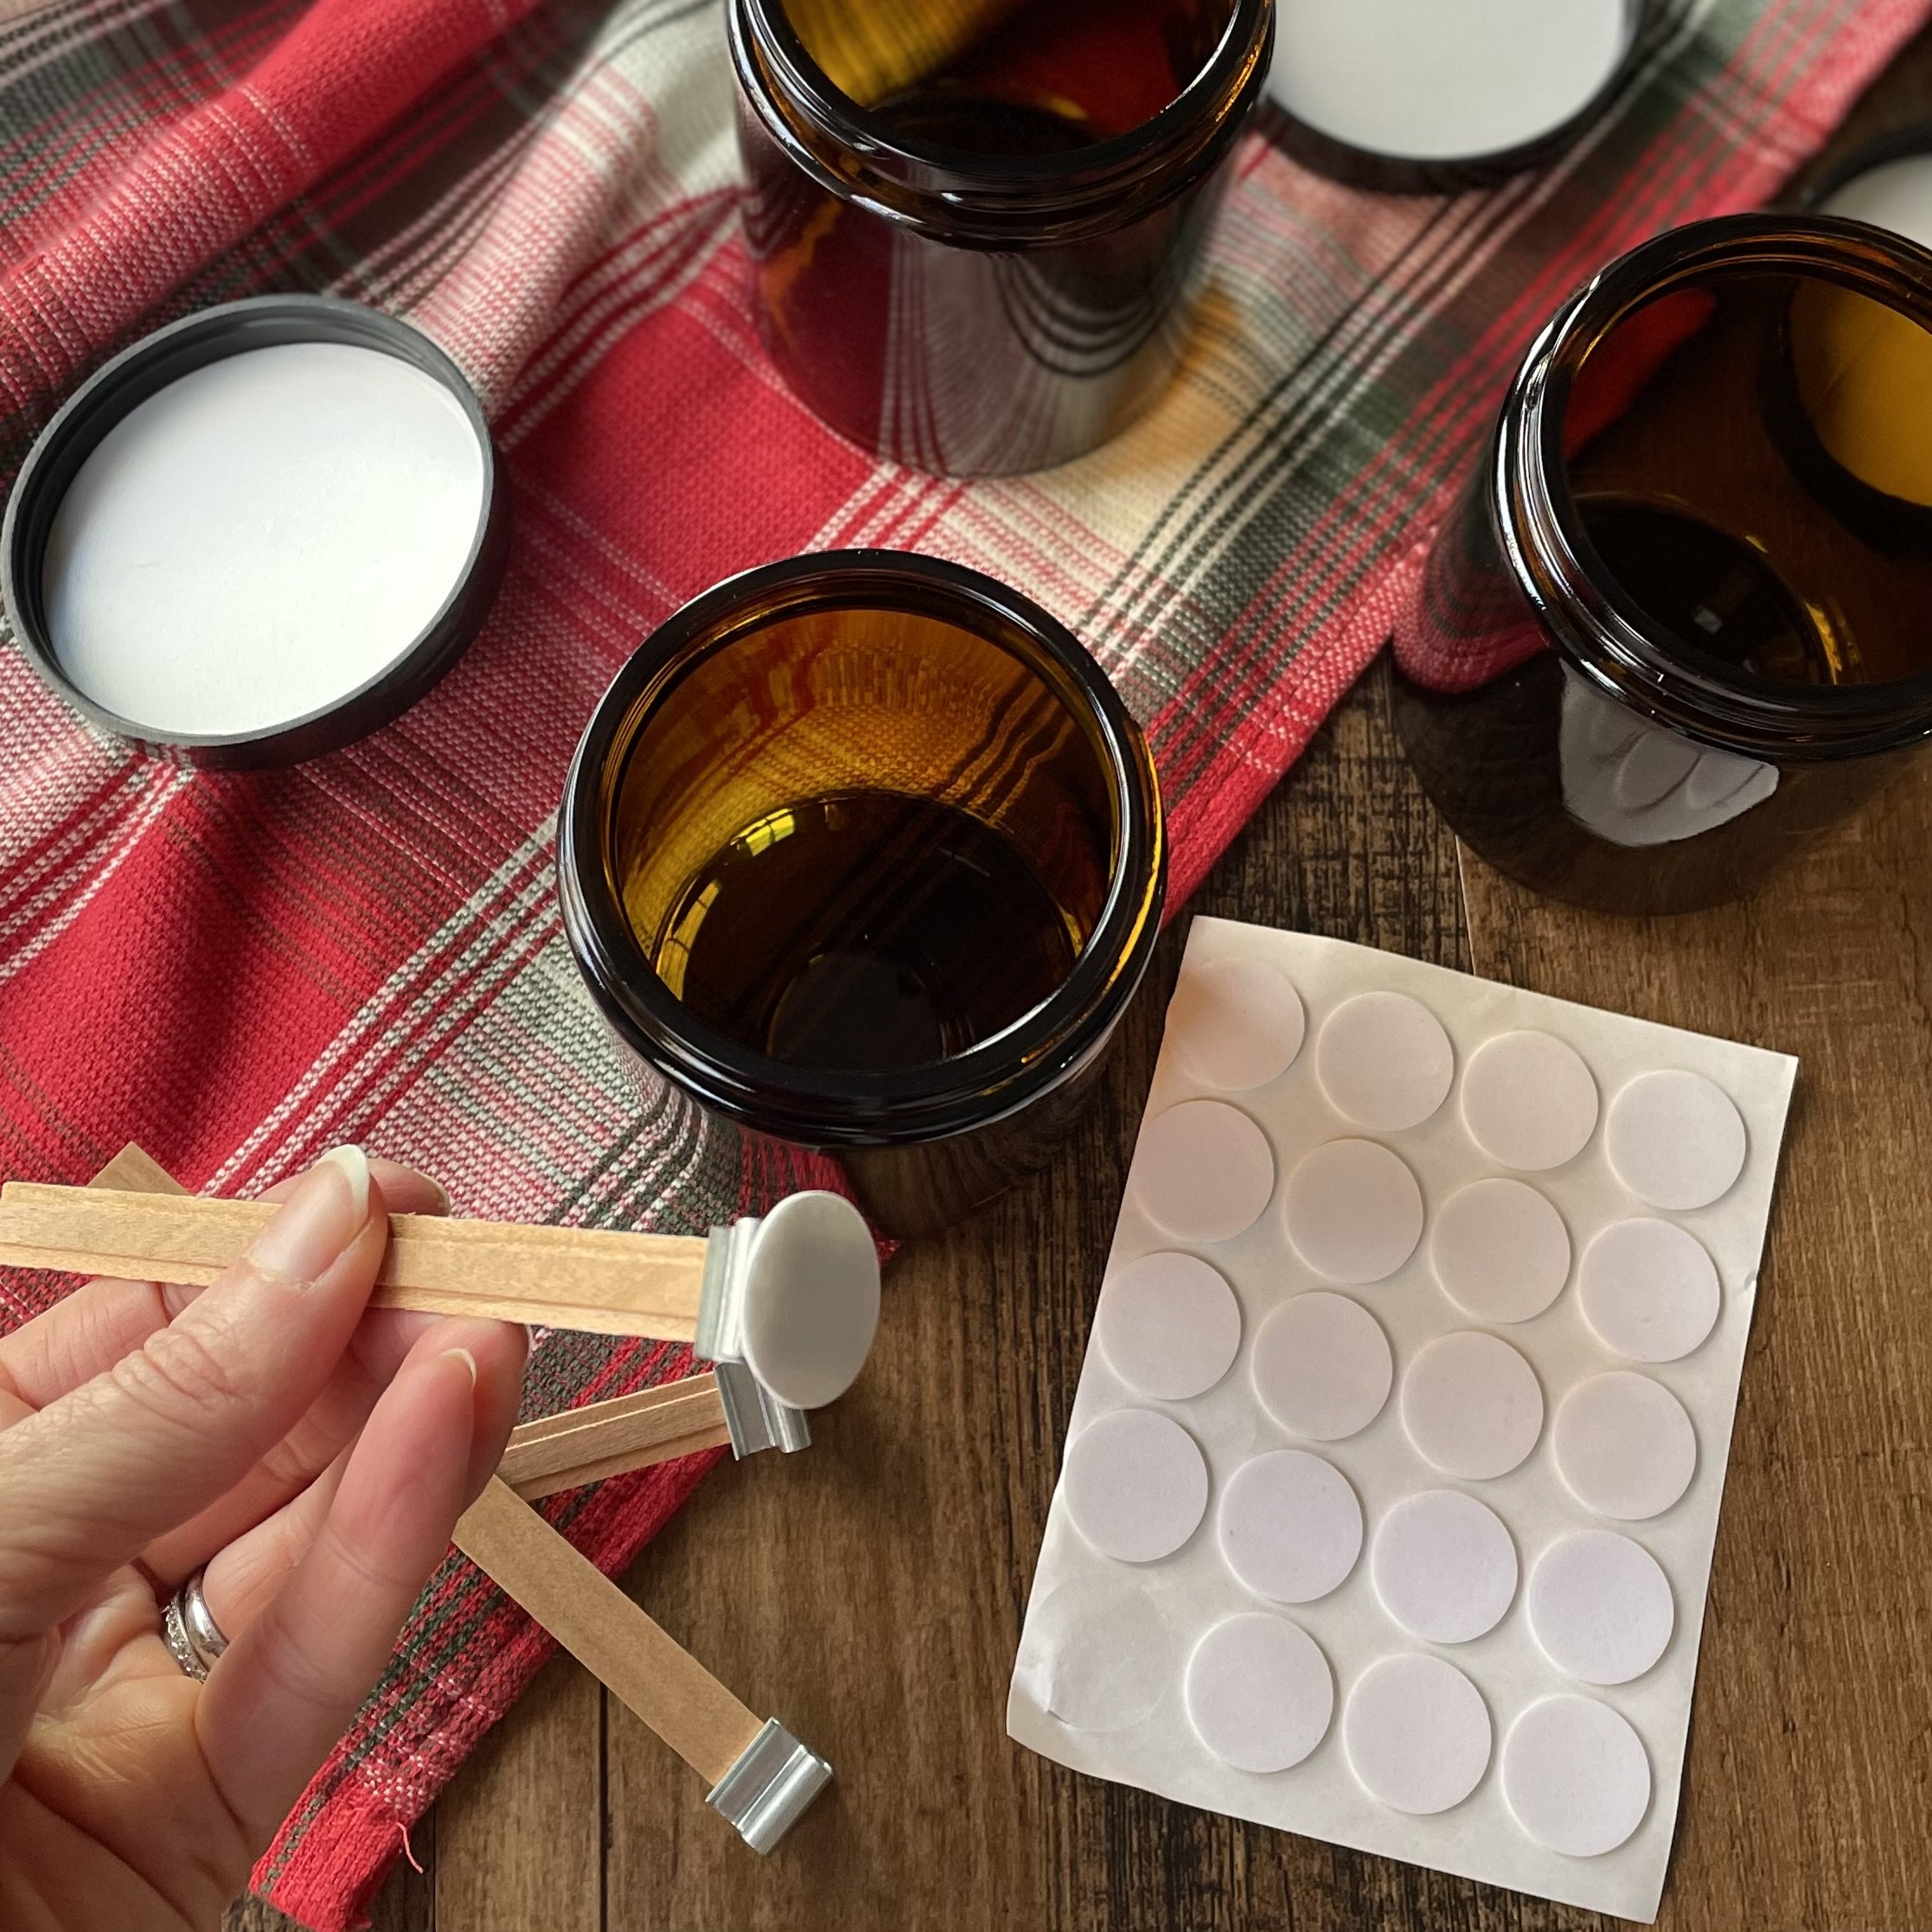
First, prepare your candle jars or cans by sticking a wick in the center bottom of vessel and place them on a sheet of wax paper to catch any wax drips that may occur.

Add 3 cups soy wax pellets to the metal pour pot, then place in a larger pot that is filled with an inch or two of water.

Heat on medium or medium low and stir occasionally until wax is entirely melted and translucent.
At this point, use thermometer to read temperature of wax. If temperature is at least 170℉ / 77℃, remove pour pot from water and place on pot holder or dish cloth on counter.

Use thermometer to read temperature and add fragrance oil right at flashpoint.
Flashpoints for fragrance oils vary and can be in between 140℉ (60℃) and 170℉ (77℃) so check on the product label, website or contact customer service to inquire before making candles.
After adding fragrance oil, let your wax cool for a bit while warming the jars.
I use a blow dryer to heat the jars up for about 15-20 seconds on high. You do not want to add hot wax to a cold jar, because it may result in separation from the sides.

Now, you can carefully pour the prepared wax into your jars or cans. Do not fill to the brim, leave some room for the wick and the lid. I usually leave at least one inch distance to the brim.
Note: If using aluminum cans, they will become very hot when filled with wax. Use caution and wear gloves or do not touch until completely cooled.

After candles are completely cooled, trim the wick to 1/4 of an inch above wax.
Wooden or threaded wicks can easily be trimmed with kitchen scissors.

Out of abundance of caution, it’s always nice to add a warning and instruction label on the bottom, especially if gifting or selling. (I ordered these from Amazon.)
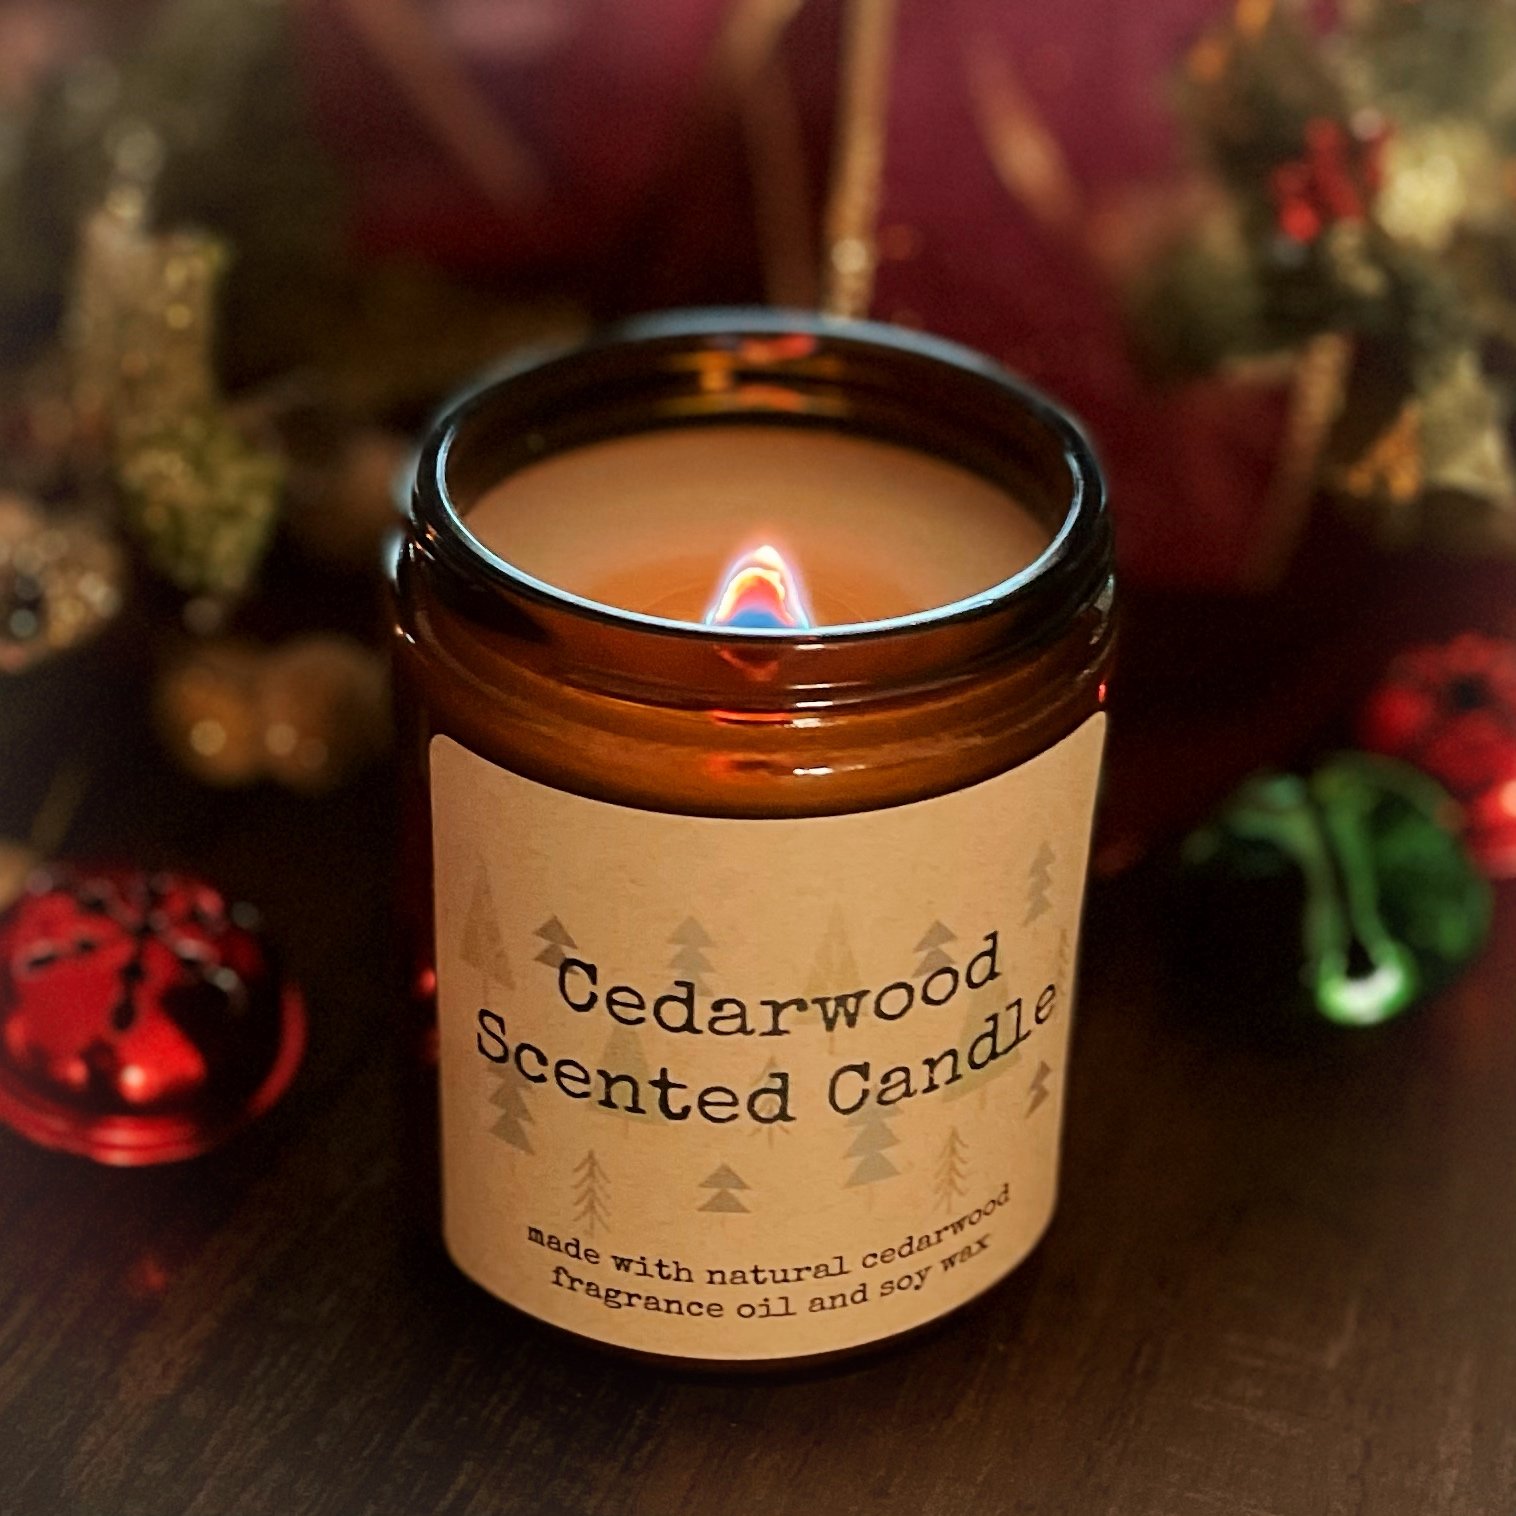
Enjoy your cozy candle!